




The Ultimate Guide to Dropshipping with Shopify: E-commerce
The Ultimate Guide to Dropshipping with Shopify: E-commerce
I wanted to take a moment to let you know that this blog post contains affiliate marketing links. This means that if you click on one of the links and make a purchase, I may receive a small commission at no additional cost to you.
Please note that I only promote products and services that I have personally used and believe in. I appreciate your support and hope that you find value in the products and services that I recommend.
Hopefully, by this point, you have a basic knowledge of business after reading the e-book. But even if you did not and you are here just to learn how to build a Shopify store, feel free to follow this tutorial.
Step 1: Choose a niche
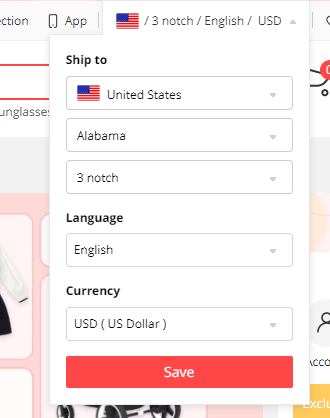
It's important to keep in mind the country you want your products to be shipped to when doing product research. For instance, if you're planning to sell in the USA, you should select the appropriate country under the "Ship to" option located on the top navigation bar on AliExpress. This will help ensure that you're selecting products that are appropriate and legal for the market you're targeting.
As an example here's an item I hand picked from AliExpress, I've named the store Motion Lite (ChatGPT has done the naming work after providing it relevant information about the product).
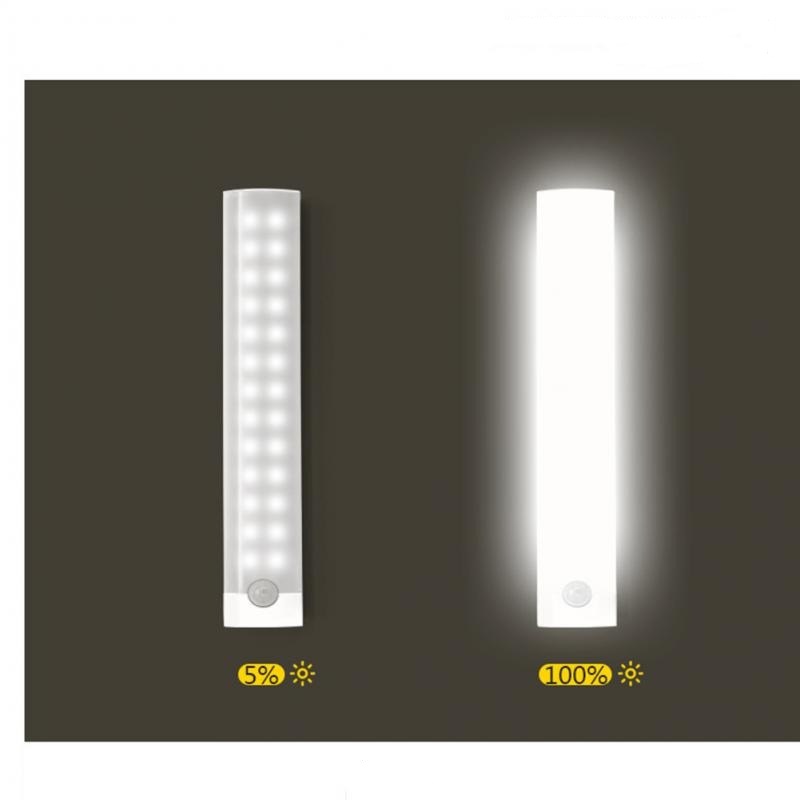
Since Motion Lite is a home decor product store, the niche should be related to home decor and lighting. The focus is on a specific area, such as bedroom decor, closet organization, or smart home technology.
Now, if you don't have a product to sell yet, you can use AutoDS for that, we will use it in the tutorial once we set up the Shopify store.
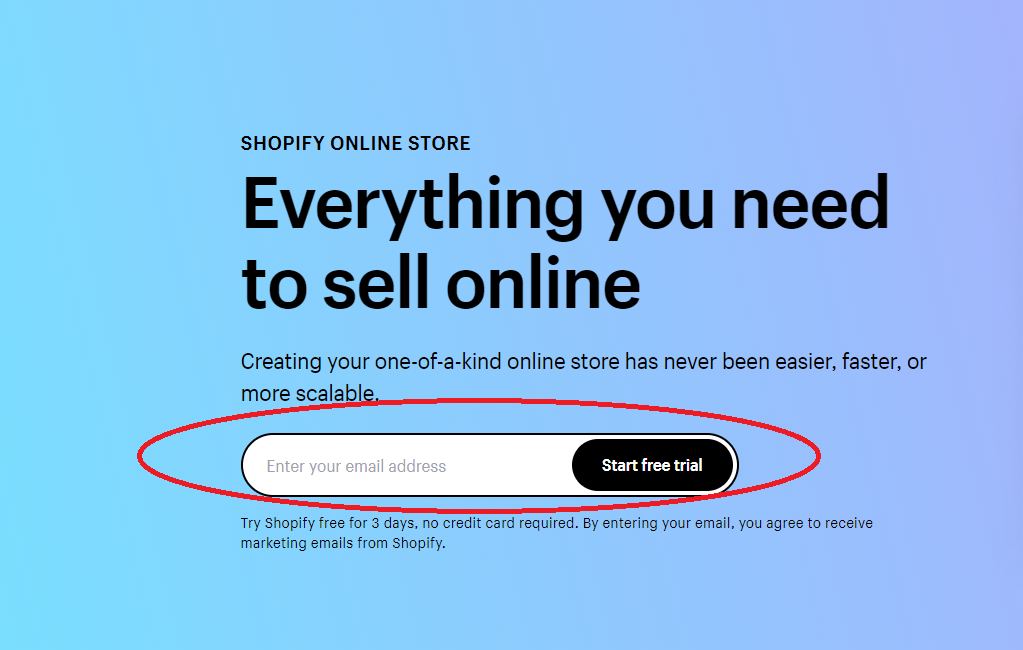
Step 2: Set Up Your Shopify Account after choosing your niche head to this link and create an account. It will give you 3 days of Shopify trial meaning it doesn't cost anything, after the 3-day trial you'll get 3 more months of Shopify for $1/month. Then it will go to the pricing plan you select.
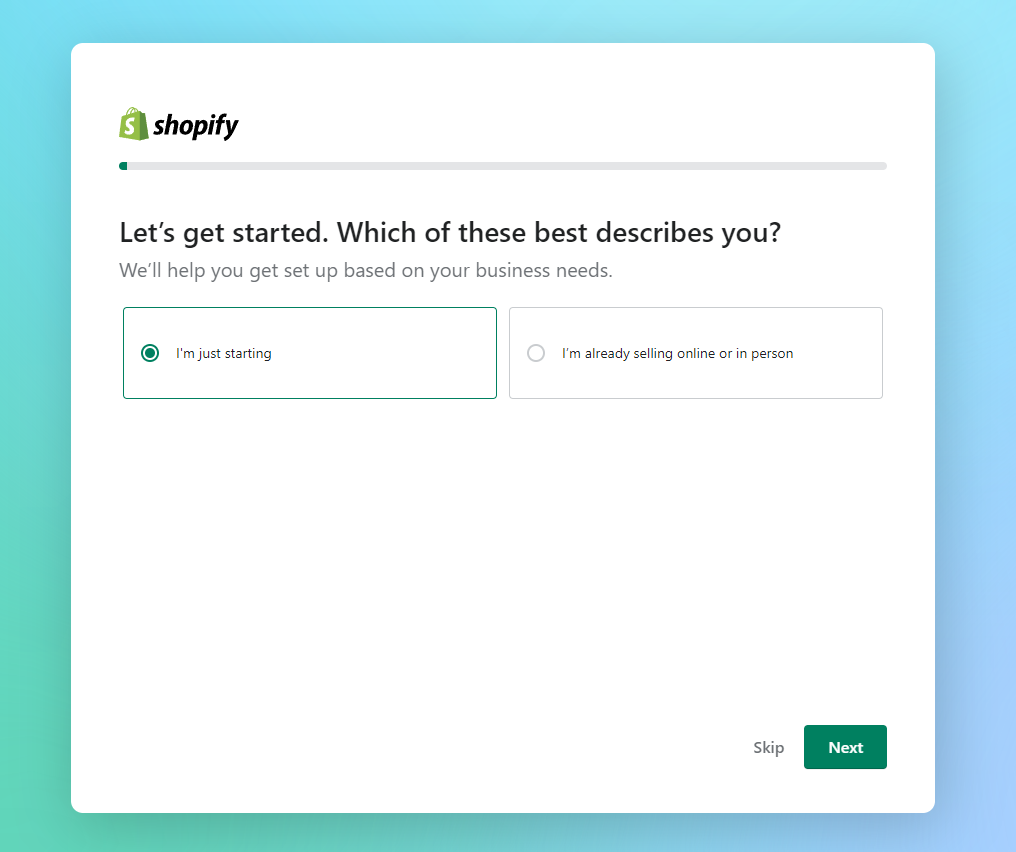
Step 3: Shopify will help you get set up based on your business needs. (It will ask you whether you're just starting out or already selling online or in person, which industry will you be operating in, and so on. Some of these steps are optional if you want to skip them.
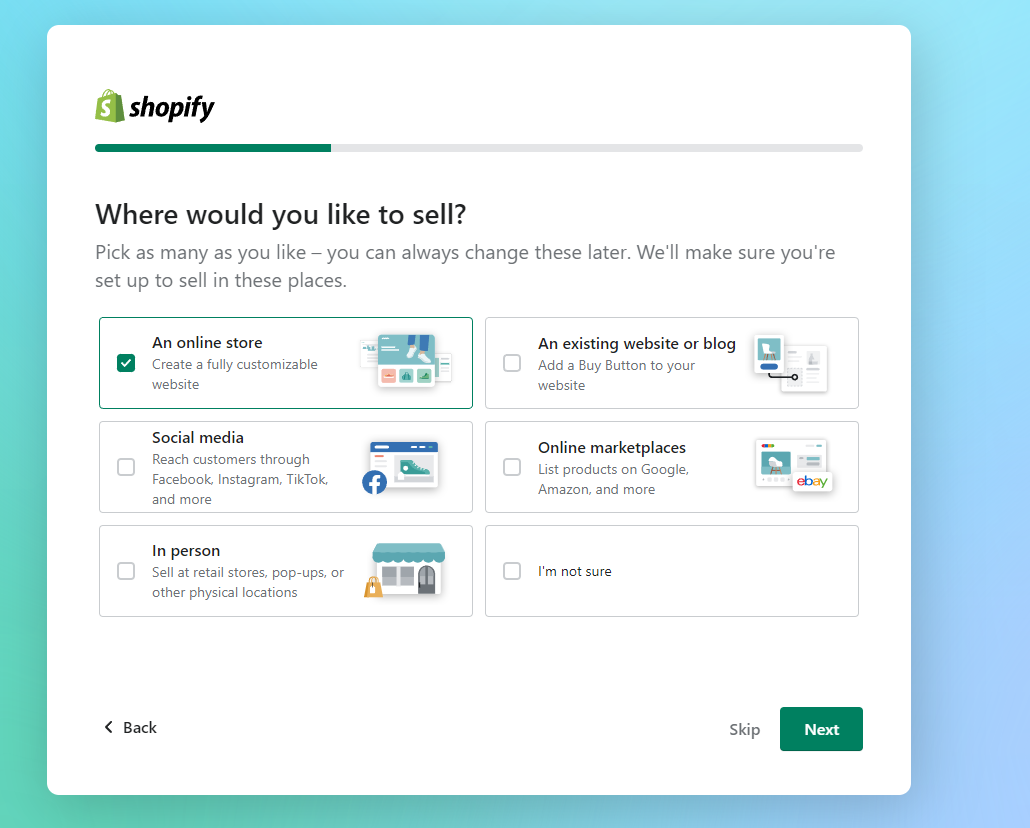
Shopifyplatform will ask you where would you like to sell, we will select an online store because this is what we're building.
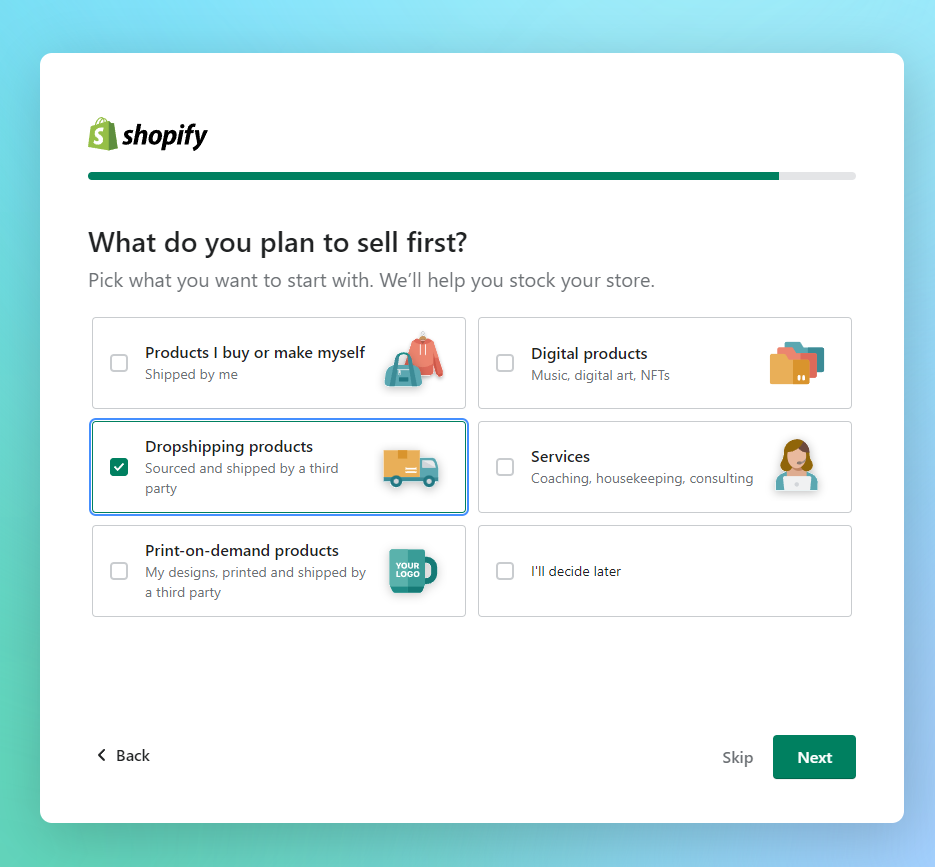
The next step is selecting how we plan to sell the products, we will select Dropshipping products.
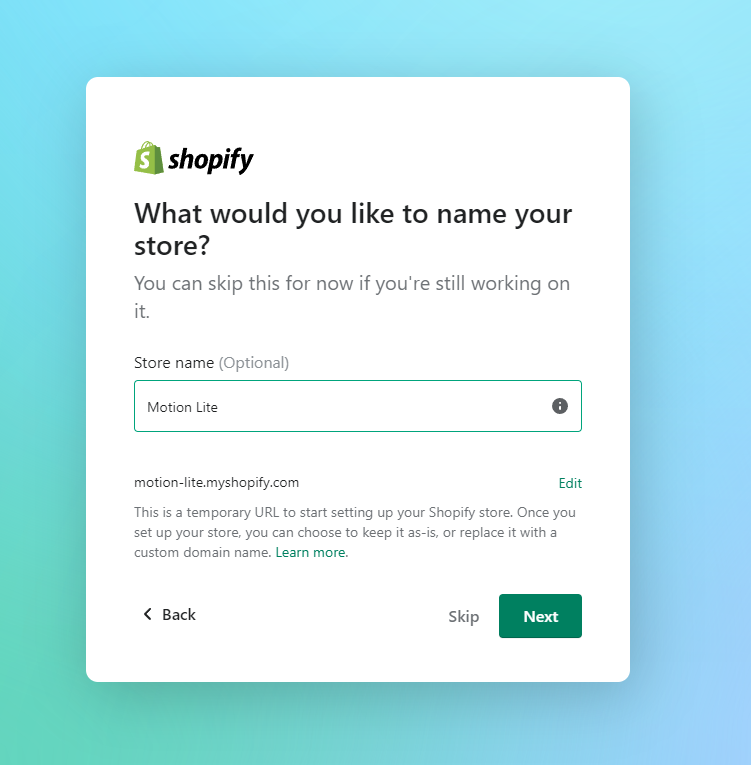
Step 4: Set up your Shopify store: Choose a name that fits your brand and niche and click next.
Step 5: Confirm your business location and create a Shopify Account: you get to choose between Email, Apple, Facebook, and Google, click on your desired option.
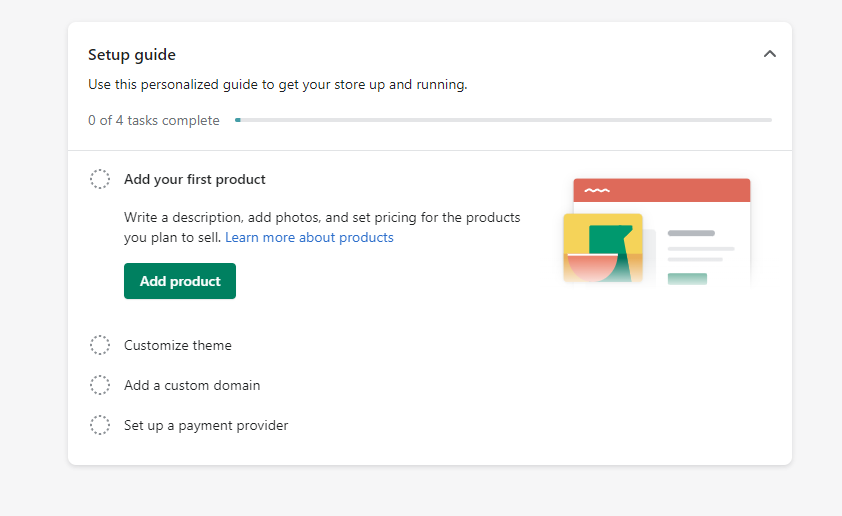
Step 7: You are now in Shopify's dashboard. Feel free to explore it. I encourage you to get used to it and explore everything, including the Settings.

Create your AutoDS account using this affiliate link by entering your email address and here is how to connect it to your Shopify store.
You'll get a full month trial for $1 instead of 14 days!
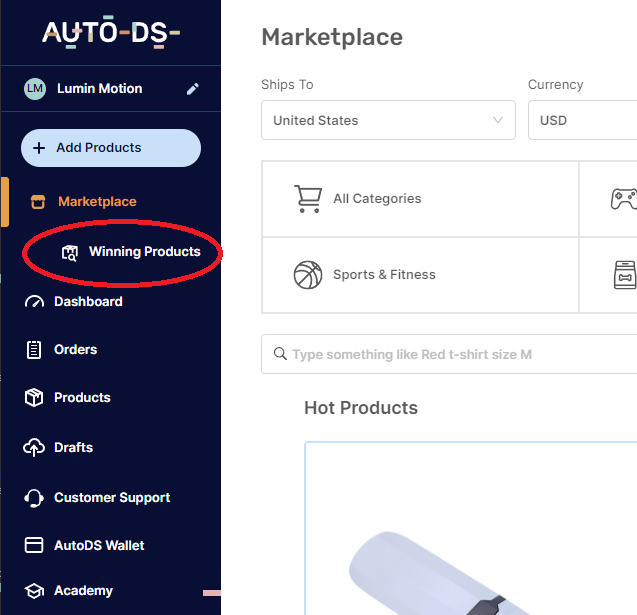
One of the most significant benefits of AutoDS is its ability to help people who may not have a product to sell yet. By utilizing the "WinningProducts" tab located on the left side navigation bar, you can gain valuable insights into what products are currently selling well on popular marketplaces or eCommerce stores.
This data can help inform your product research efforts and ensure that you're selecting products that have a high potential for success.
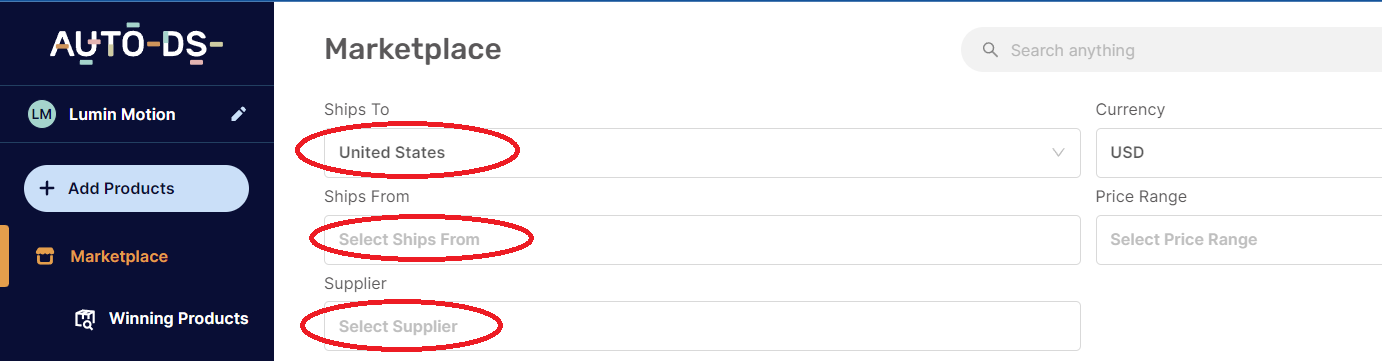
So let's go to the Marketplace tab, and select the Ship to country (the country of operation, where you sell the products), and the Ship from (the location of the warehouse). And then you select a supplier, it might be AutoDS suppliers, AliExpress or Amazon.
Next, let's go the the Winning products tab.
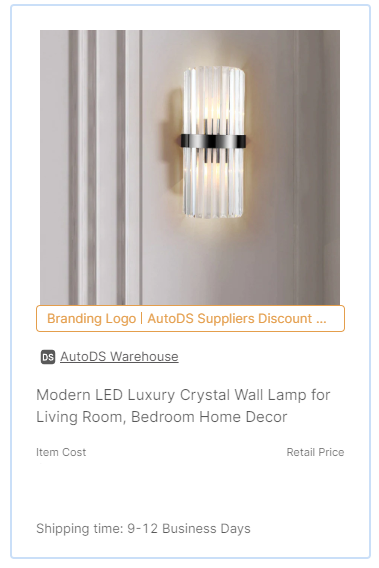
And, I just found a new item for dropshipping, it is a niche-related product and it is a luxury item. I deleted the prices for security purposes but it will also show you the Item Cost and its Retail Price. We'll get back to it once we design the store and add the products.
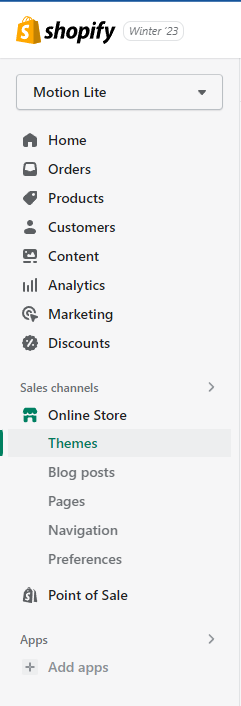
Step 8: In the left menu, click Online Store, then go to Themes
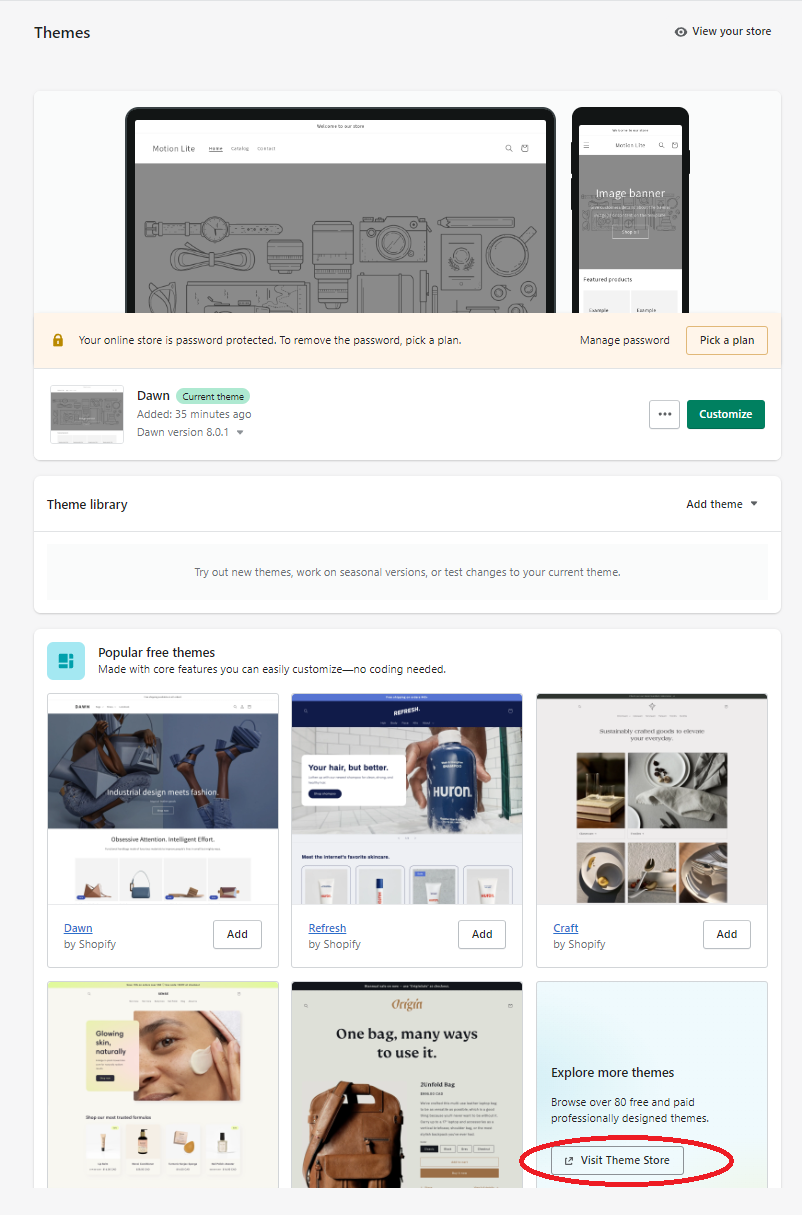
Step 9: Choose a theme to suit your store, there are free and paid themes, you can check them out by clicking on the view theme store.
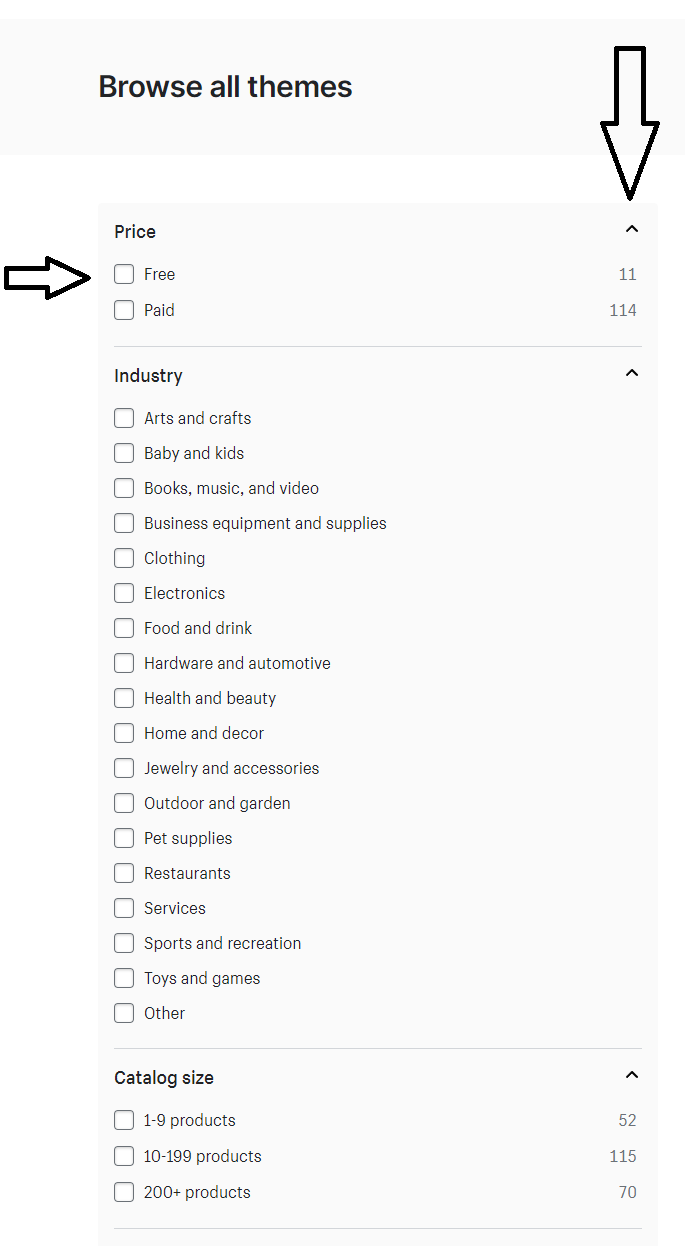
Step 10: You are now in the Theme Store, on the left side you are going to see a navigation bar to filter the results by price, if you don't see it press on the down-pointing arrow, now select Free.
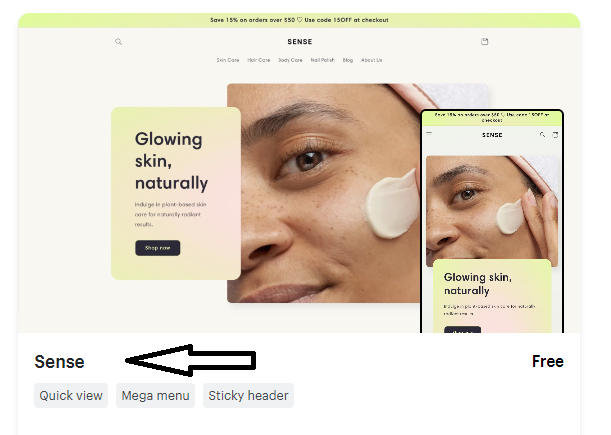
Step 11: For this example I am going to choose the Sense theme.
Step 12: After clicking on the theme you should now see two options as shown below: Try Theme and View demo store
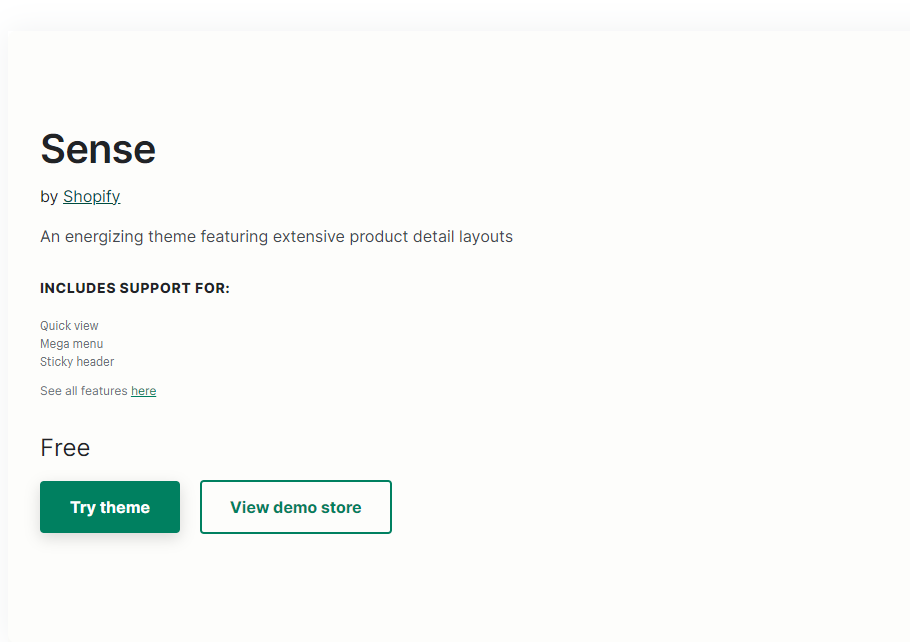
Step 13: You can press on the view demo store to have a preview on how the theme looks.
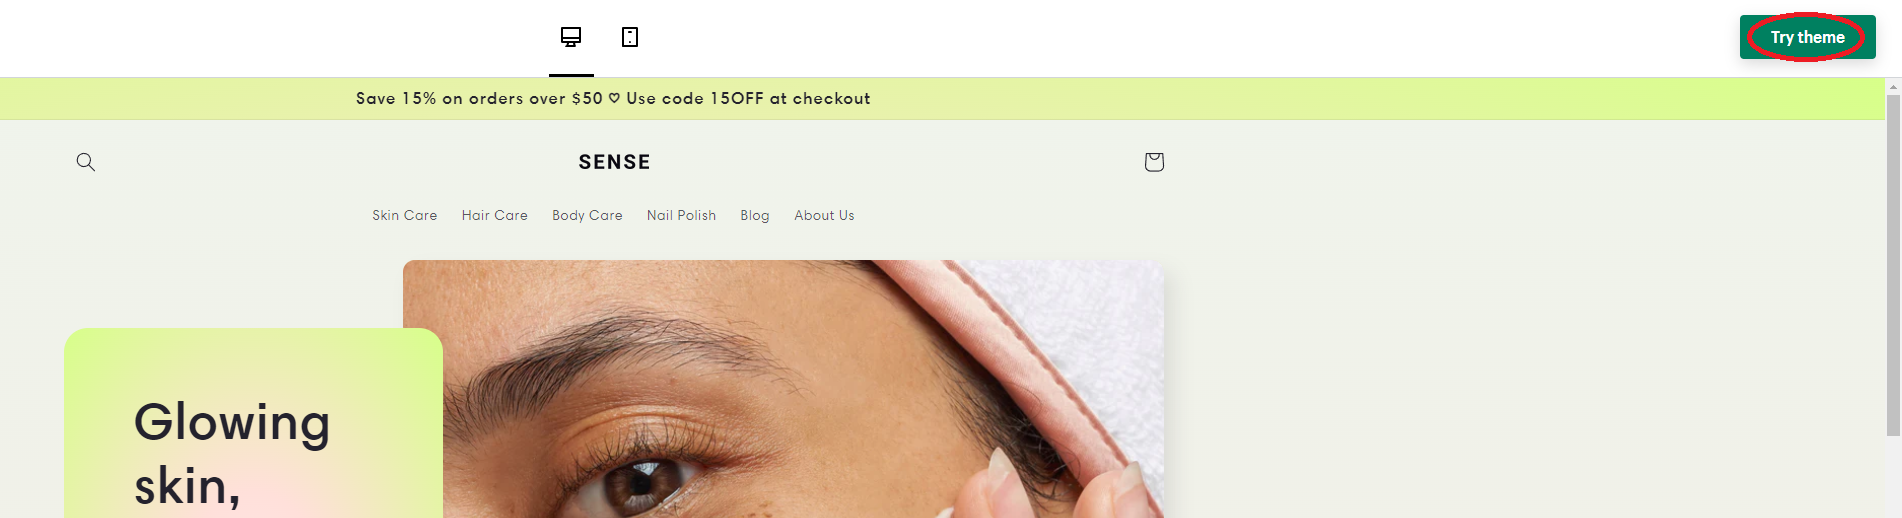
Step 14: Press on Try theme and it will send it to your theme library.
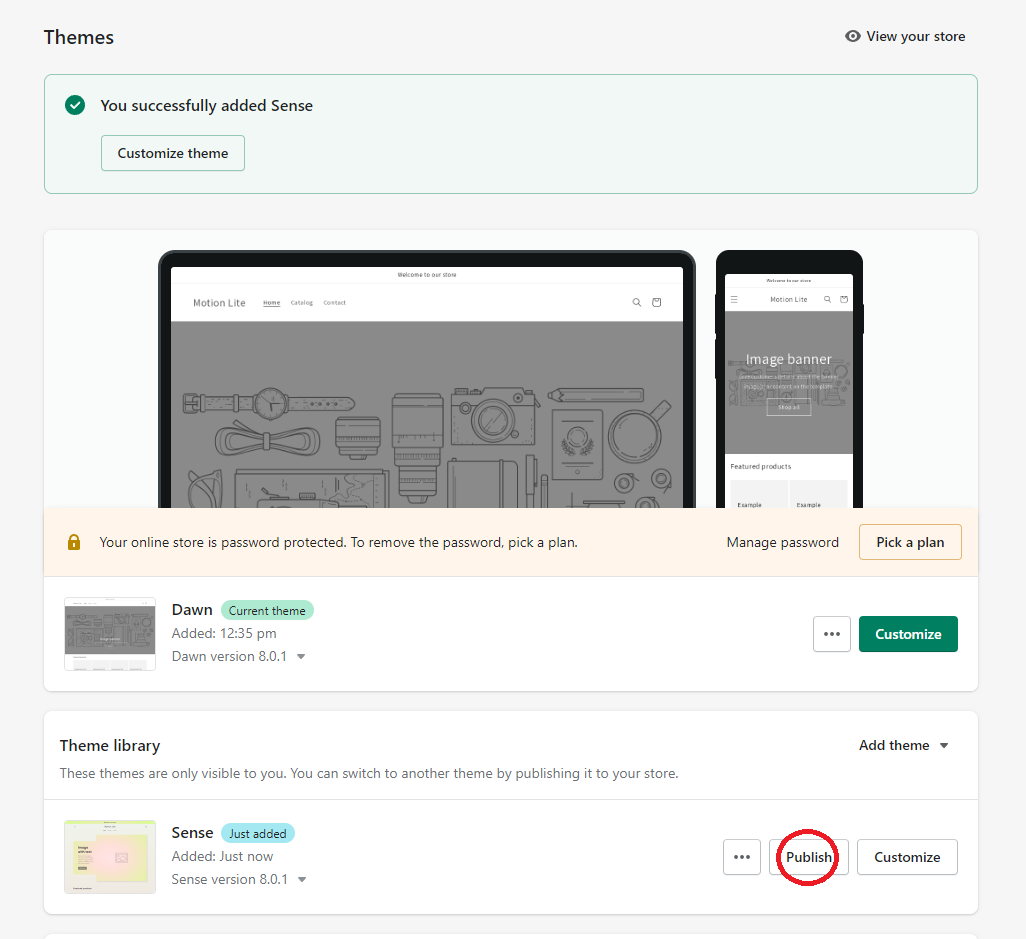
Step 15: Press on Publish, now Sense is your default theme.
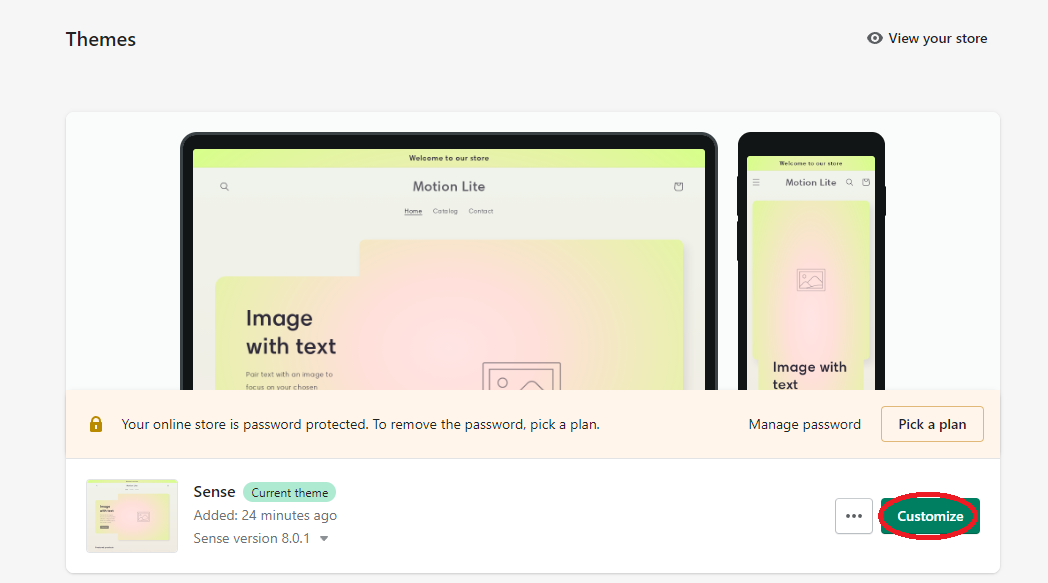
Step 16: Press on Customize and start building your store.
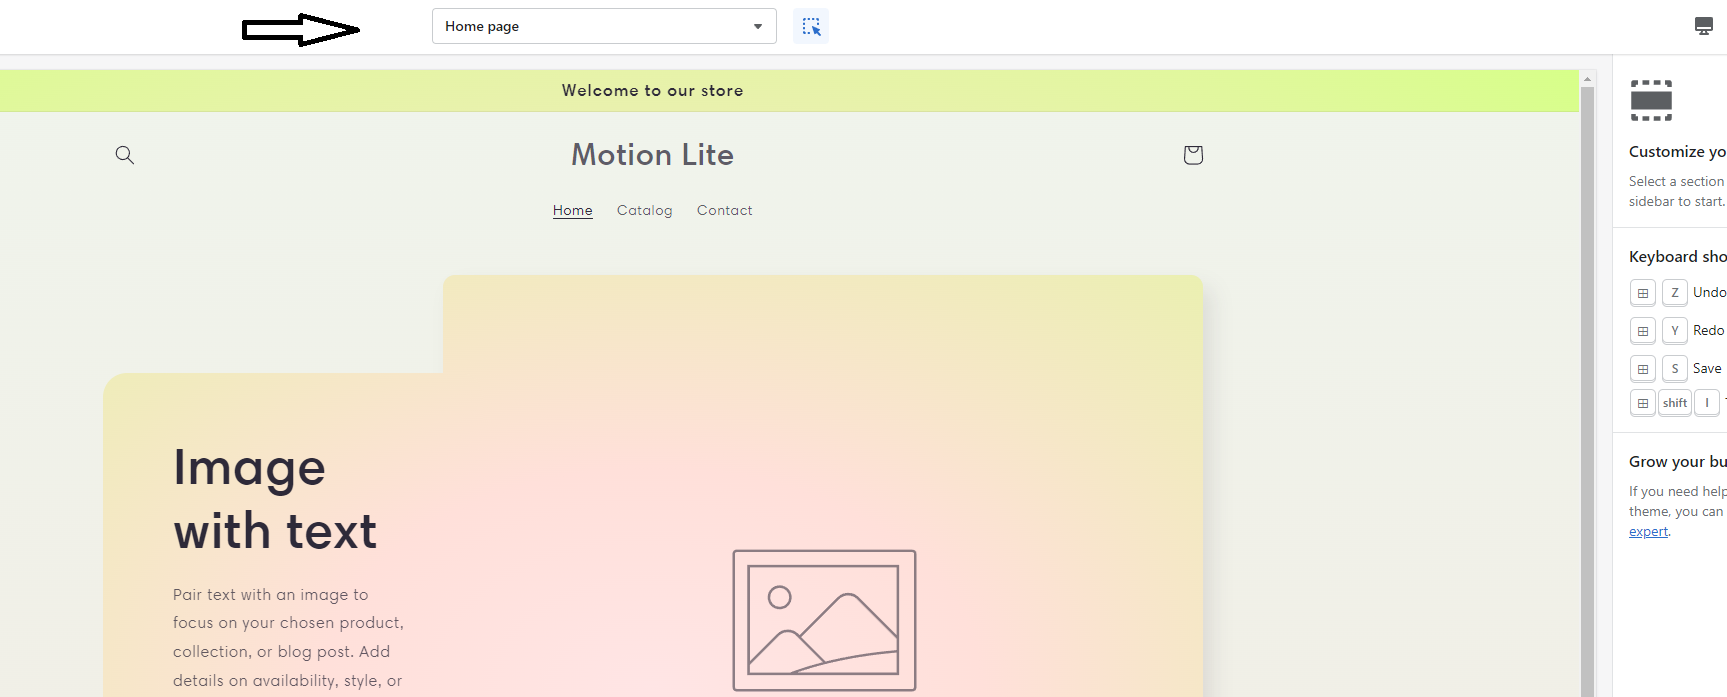
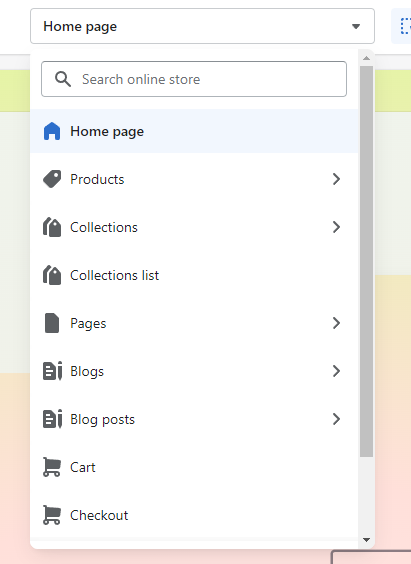
Step 17: On the top, you are going to see the page selector menu. Go ahead and click it. Down below you will see what the page menu looks like, here you can select the page(s) you want to edit.
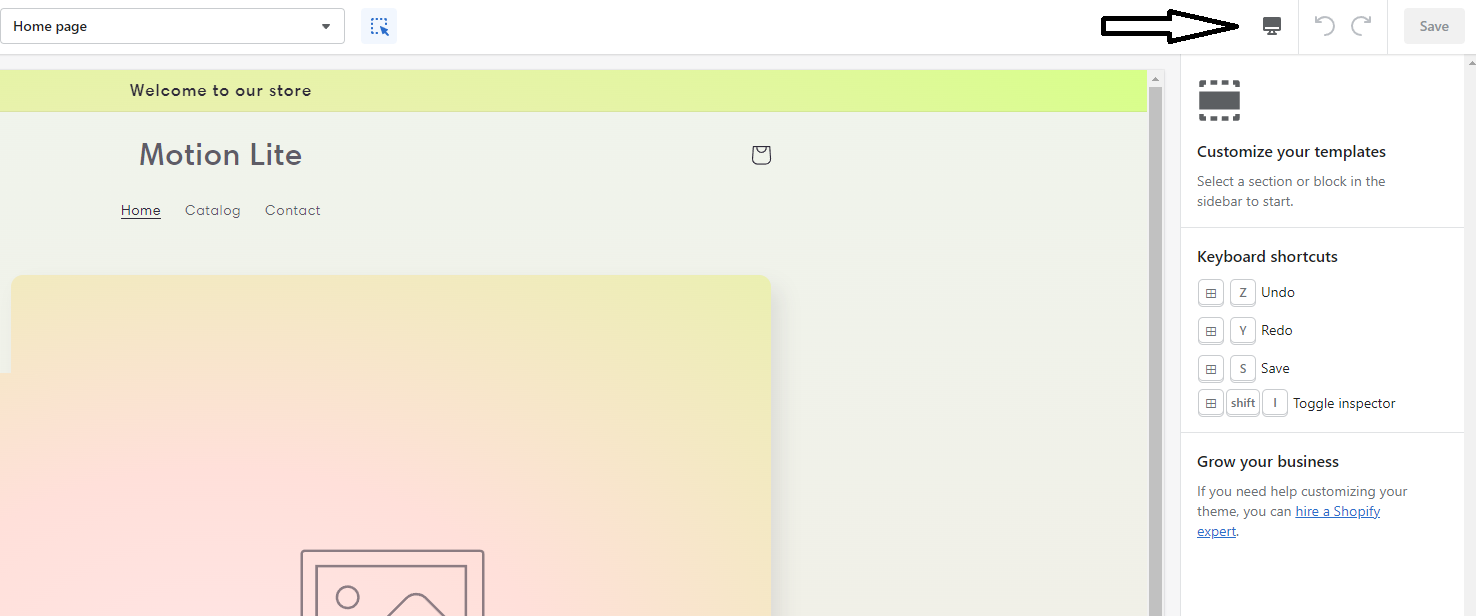
Step 18: Switching between Desktop and Mobile, on the top-right corner you'll see a desktop icon and a save button. Press on the Desktop button to switch between Desktop and Mobile view.
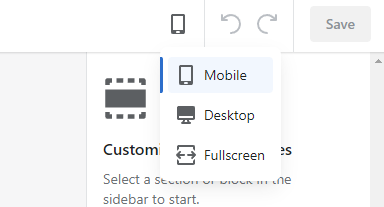
Step 19: Choose Mobile to see how your website would look on a phone screen.
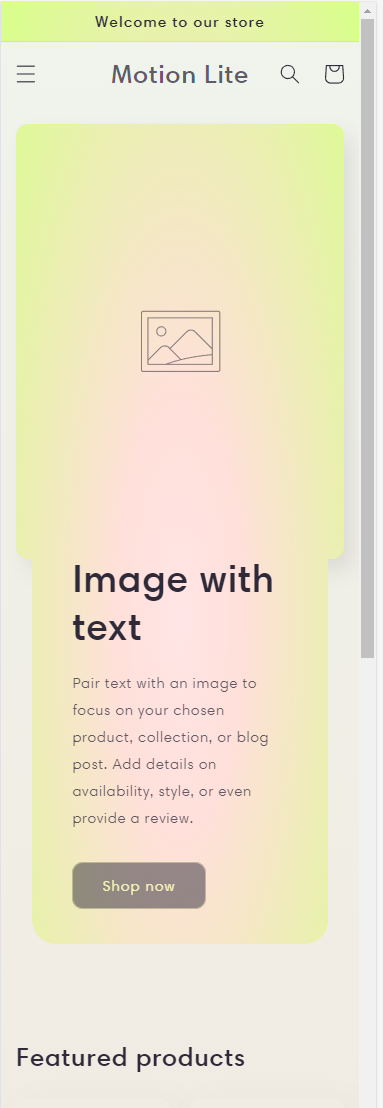
Step 20: This is how it will look on a phone screen.
Step 21: Switch back to the Desktop view and let's understand the layout. The layout is usually in the left side of the screen.
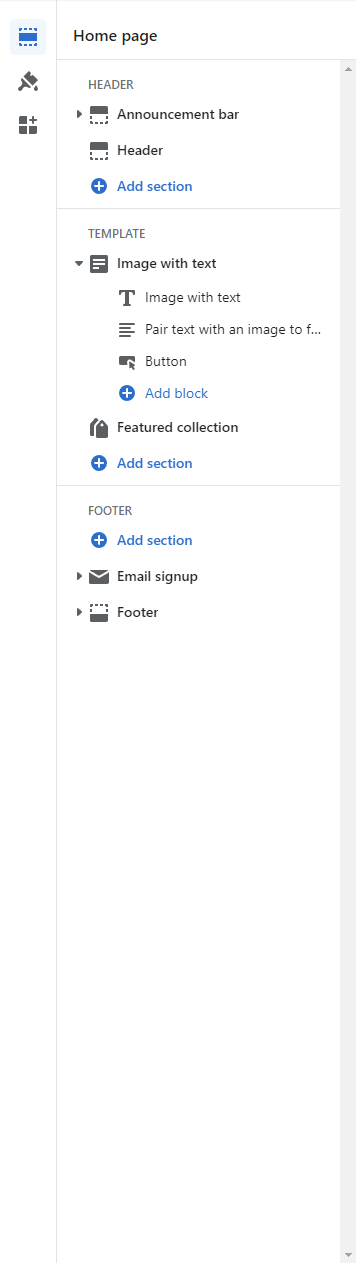
Click onthe Announcement bar. Each element you see on this menu corresponds with an element on your store as it can be seen below.

This is the element corresponding to the announcement bar. Now as you can see below, click on Welcome to our store to select the conent inside the announcement bar.

On the right side you will see a text box which allows you to change the text inside the announcement bar. You will also see text alignment to format your text allowing you to align it to the left, center it or align it to the right. Also you'll see a link form, if you want you can paste a link to redirect your customers.
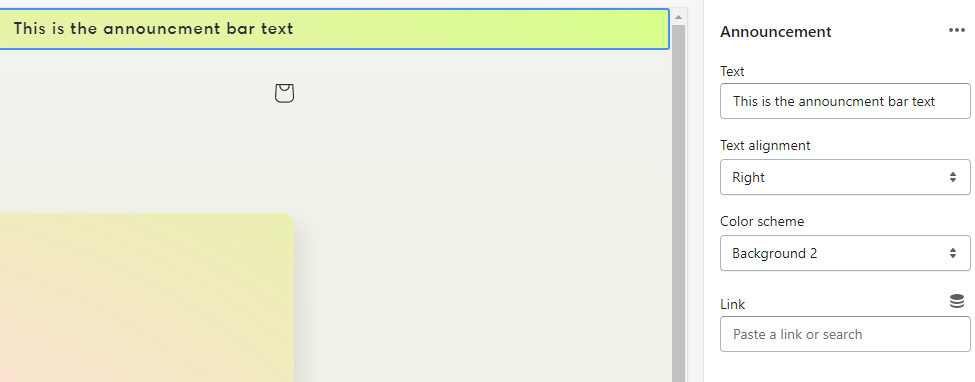
Remember to press the save button in the top right corner. Otherwise the modifications will not save.

Step 22: Header & Logo, so let's select the Header from the left side menu.

Step 23: Once you've chosen the Header head to the right side menu and click on theme settings under LOGO section.
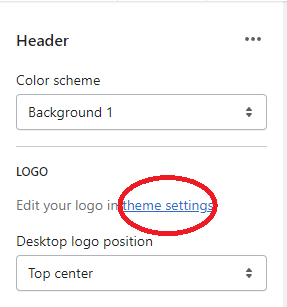
Step 24: Go to theme settings. Keep the tab open and go to logo.com
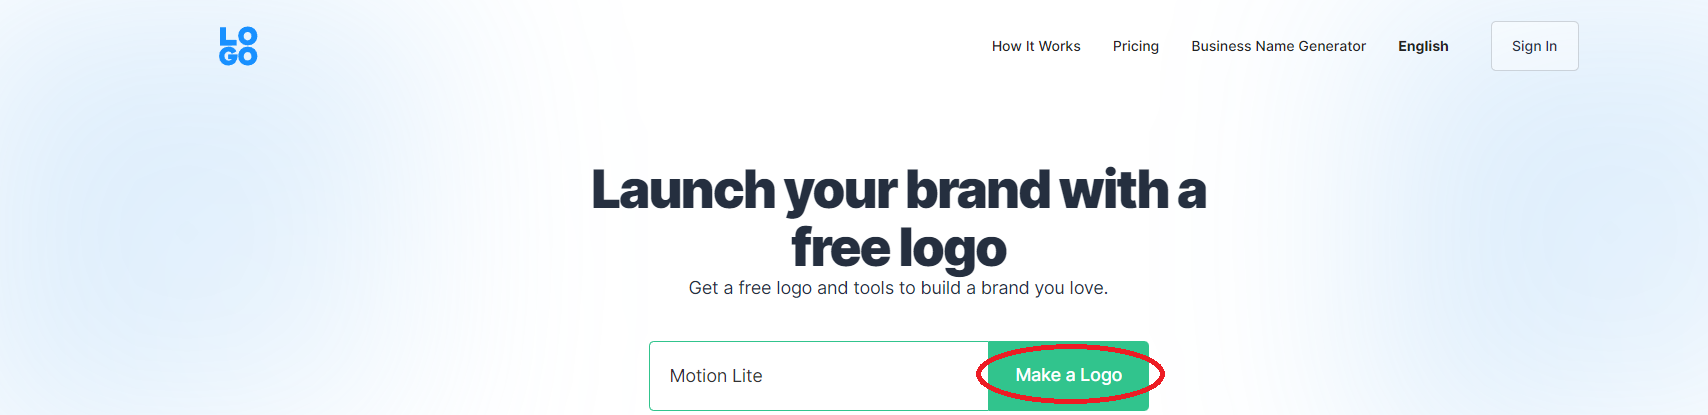
Enter your store name and click on Make a Logo
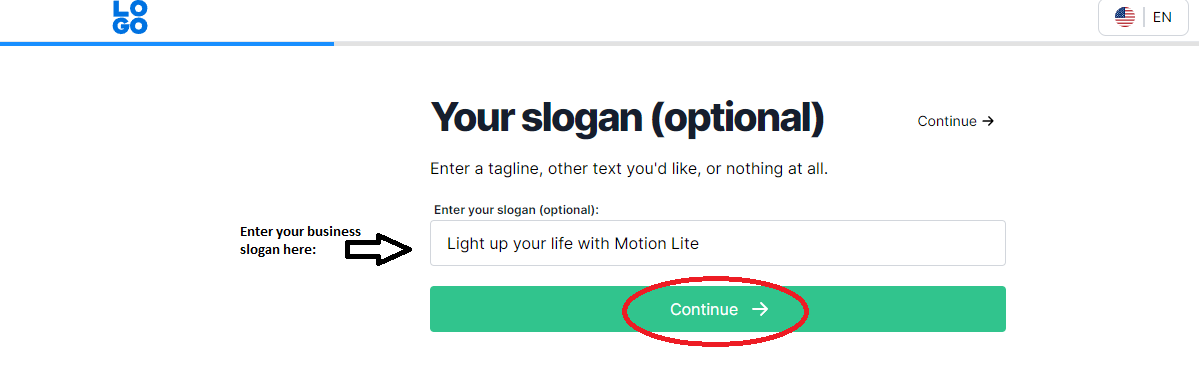
Enter your business slogan, this is optional.
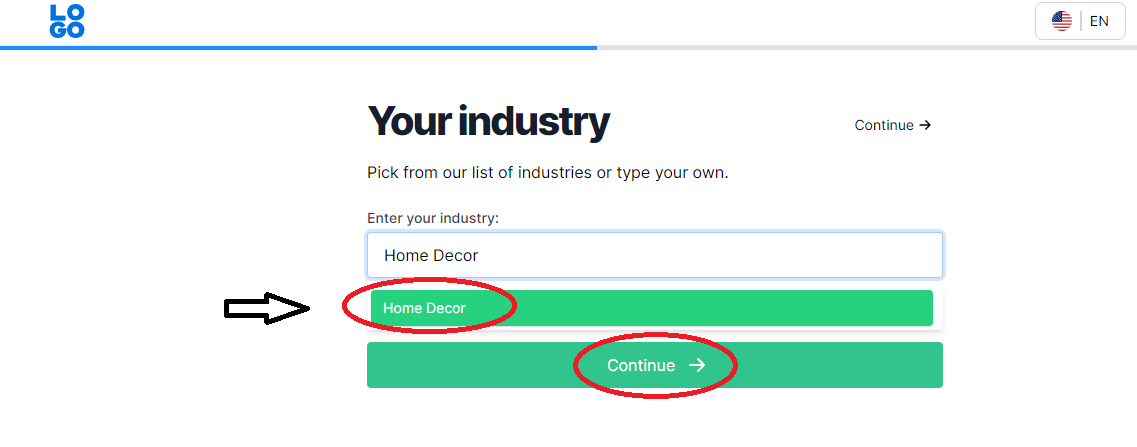
Enter your industry, click on it and then press Continue.
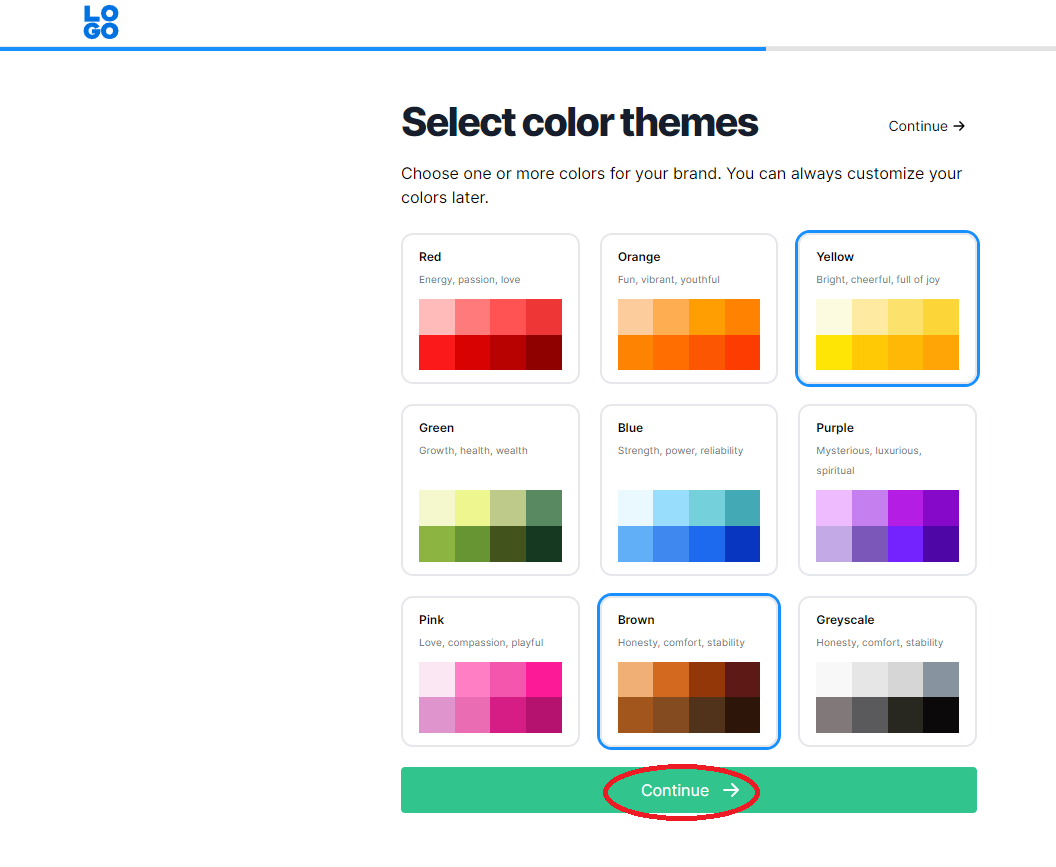
Select the color themes you want and press Continue.
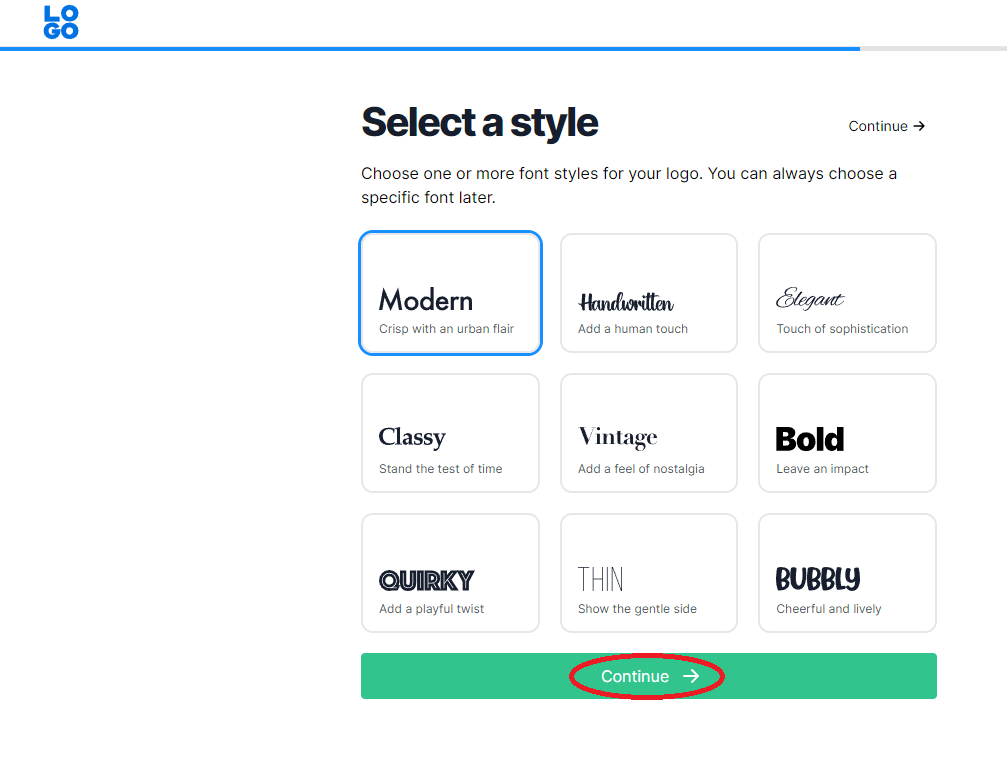
Select a specific font to suit your business and press Continue.
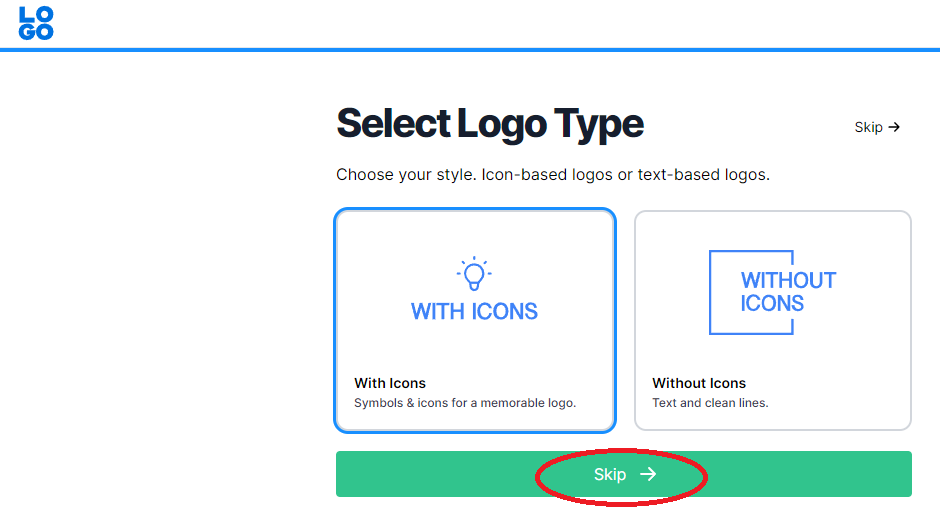
Select your desired option, you might want a more visual logo with icons or maybe a less visual logo without icons. For this example, we will go for the more visual option.
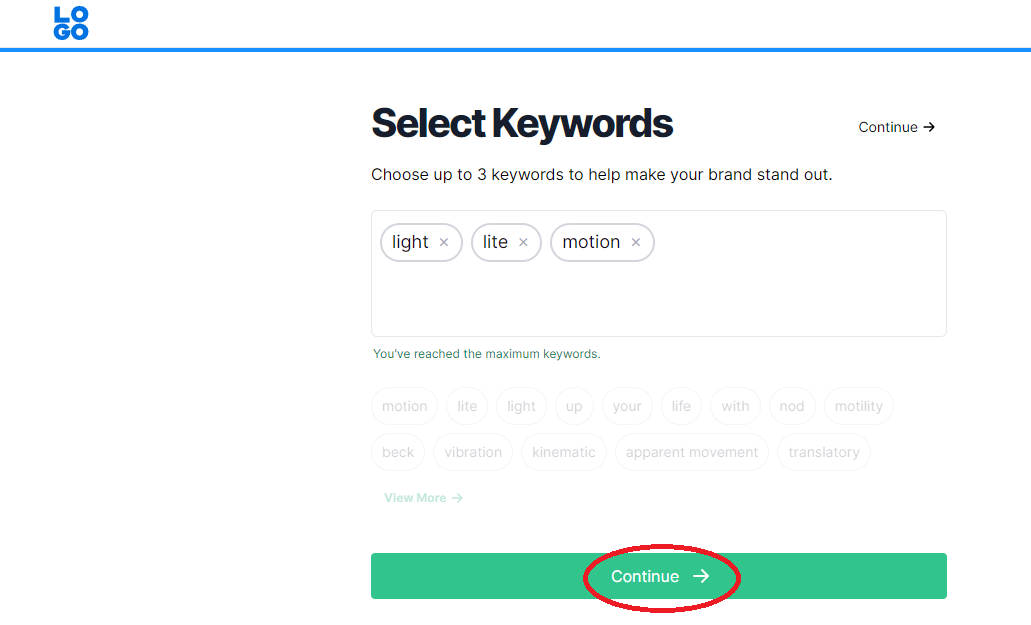
Select the 3 most descriptive keywords for your brand and press Continue.
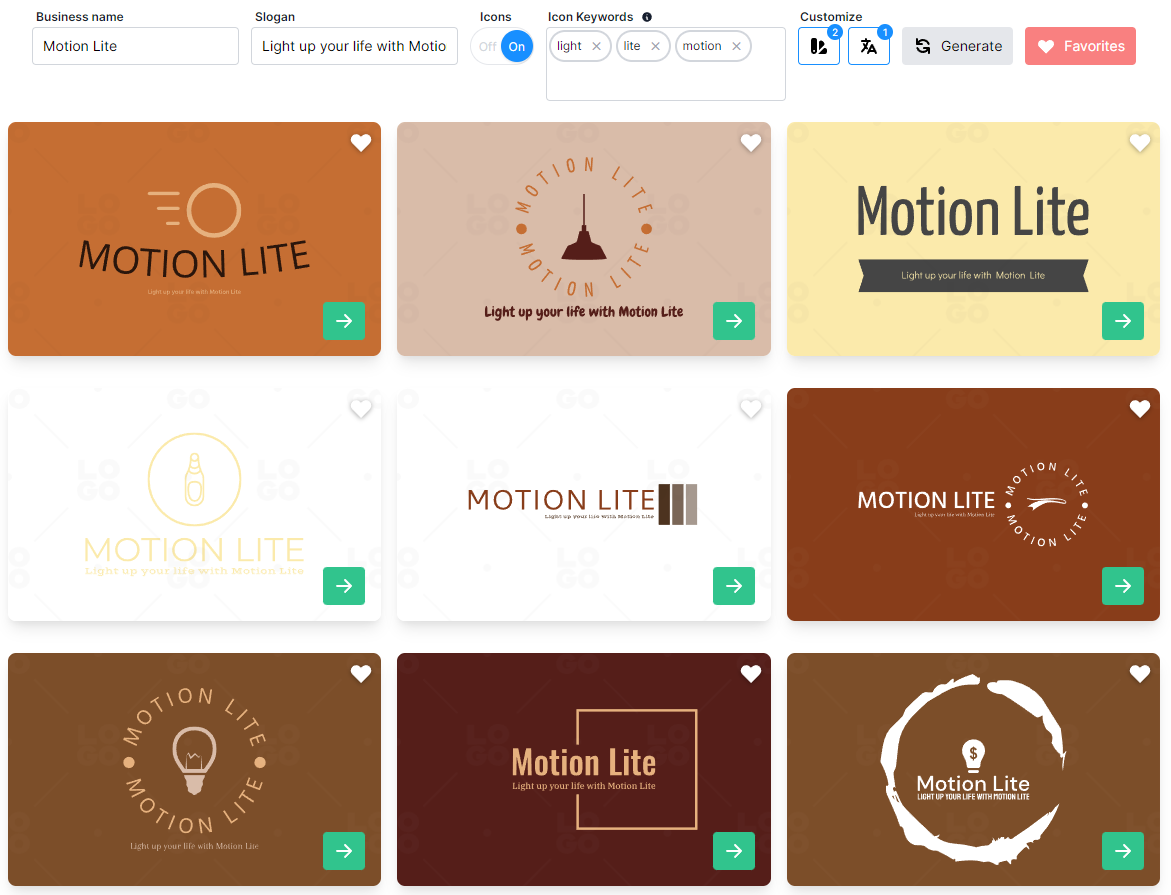
Logo.com will generate a list of logos to choose from. Select the one you like.
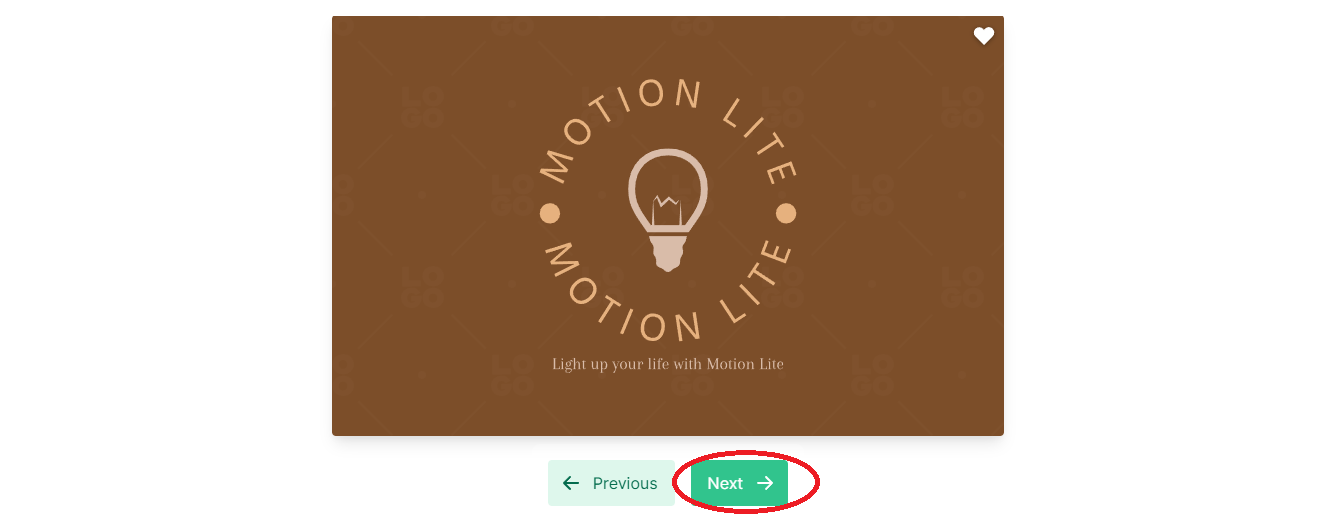
This is how the logo will look like, press Next.
Before downloading if you want to edit the Logo Typography you should go on the Home Page and press on Edit logo
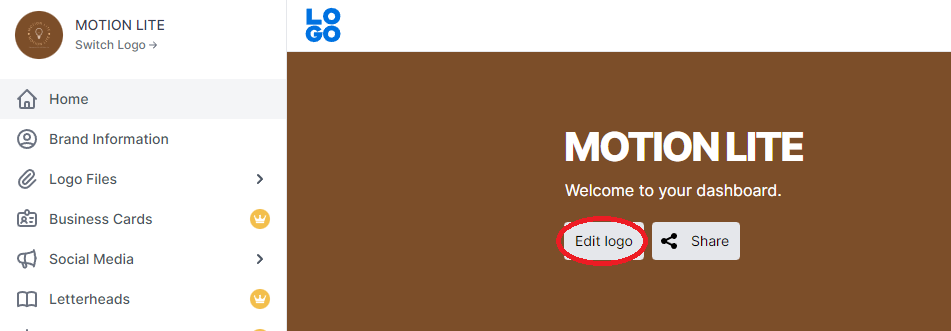
After pressing on Edit logo you'll see this Dashboard again, click on Business Name, search for the Font you want and press Search.
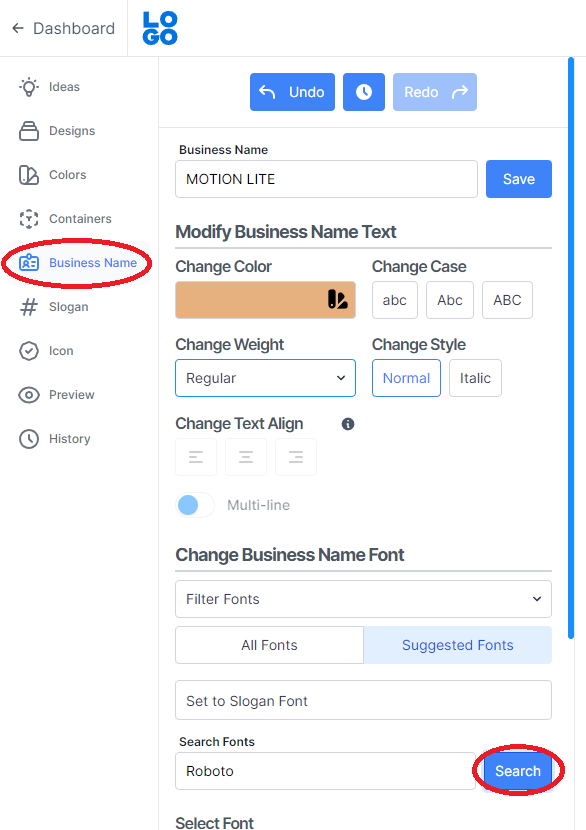
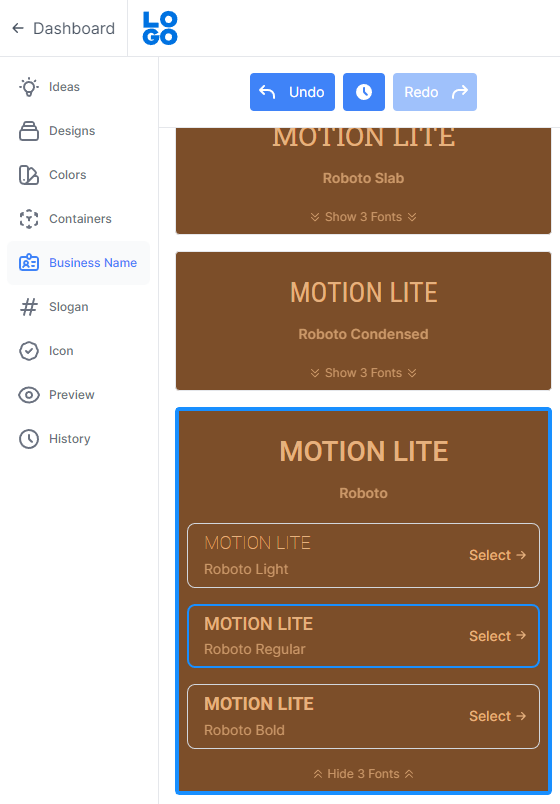
Select the type of Font you want for your Logo. For this Logo, I chose the Roboto font.
Generate the Logo and Download it.
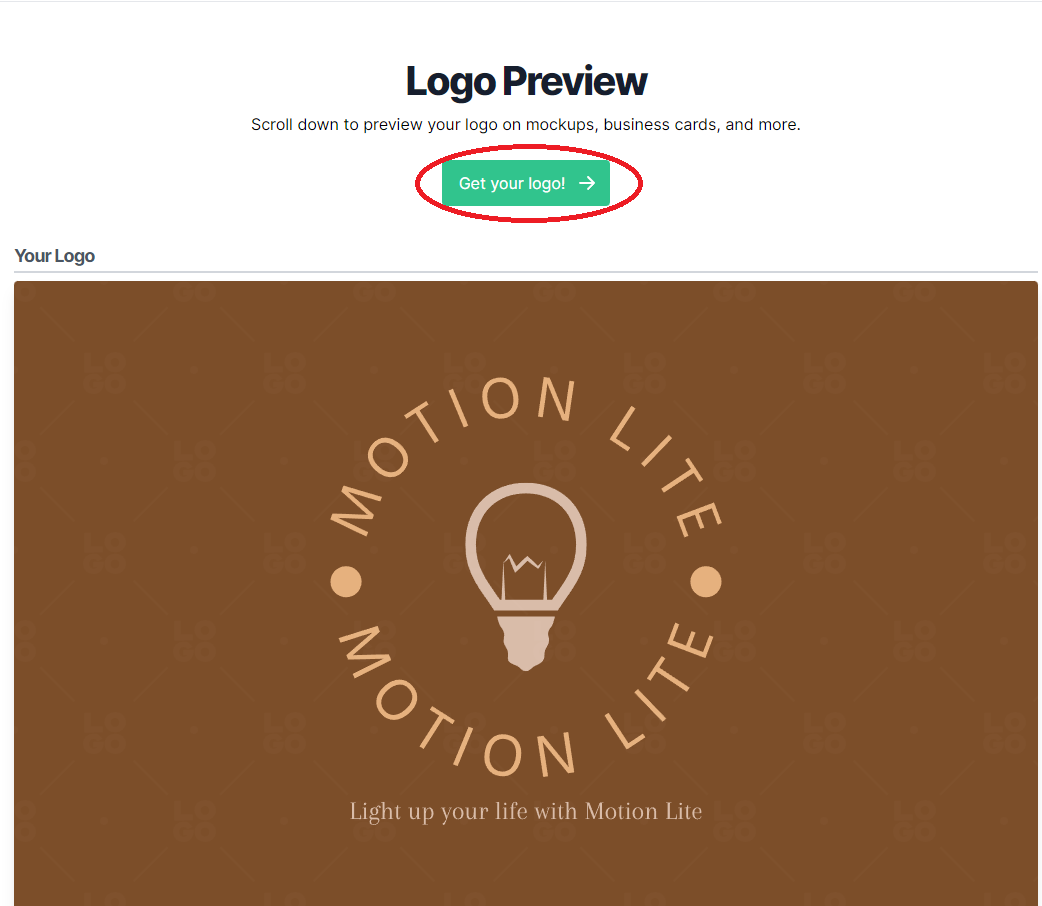
Select Your logo files.

Press on Download your logo to download the main logo.
On the same page, if you scroll down you'll also see a zip file containing more formats of your logo and a Brand Board.
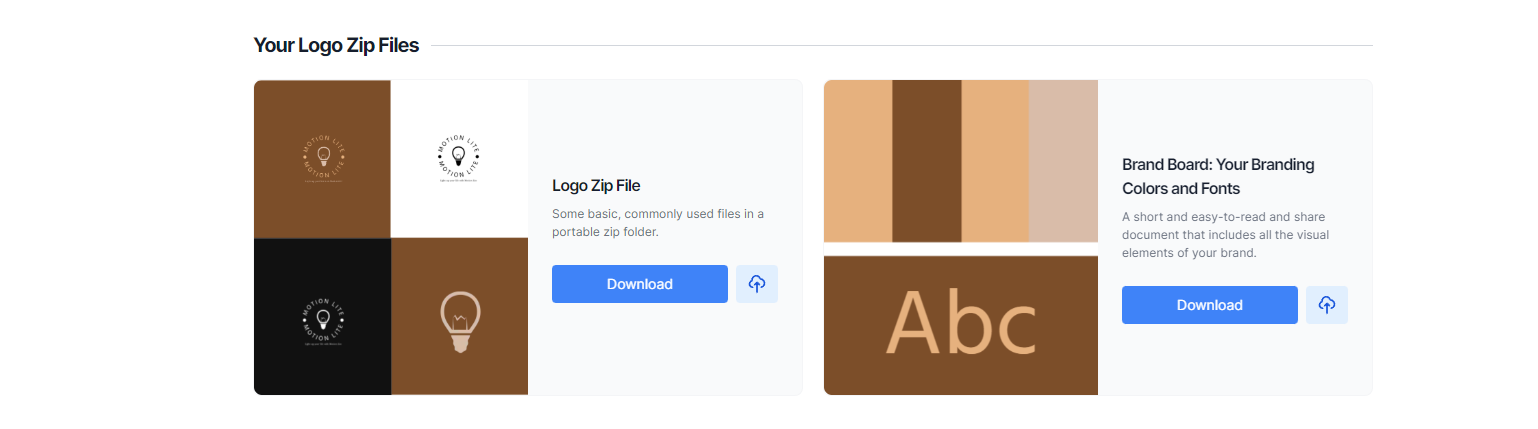
Also, download the Brand Board colors so we can use them in our store.
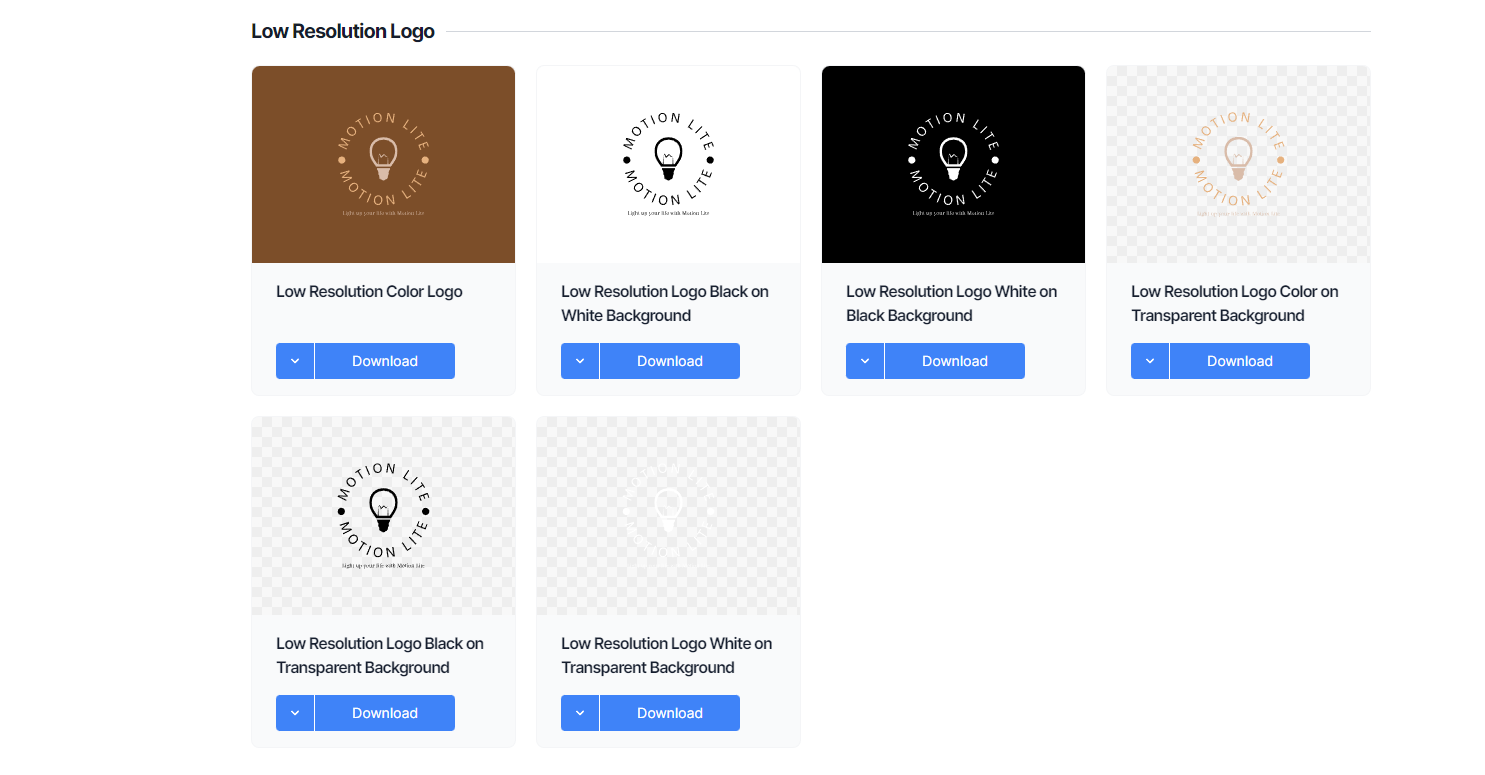
This is optional, but sometimes the Logo on Transparent Background might be useful.
Step 25: Applying your logo. Head back to the Shopify tab.
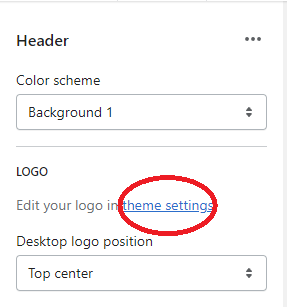
After clicking on theme settings, on the left side you should see this.
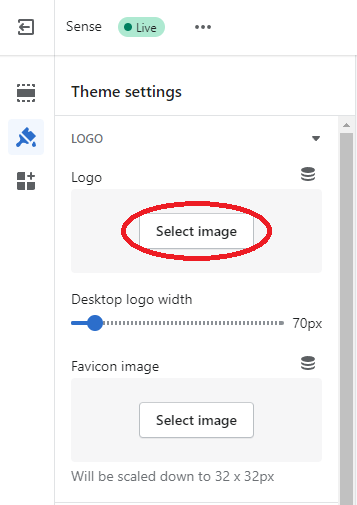
After clicking on Select image you should see your Image Library which is of course empty, so let's add our Logo.
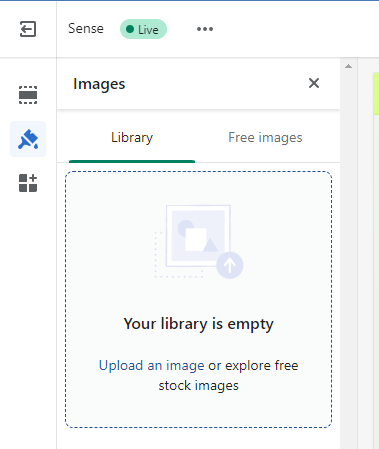
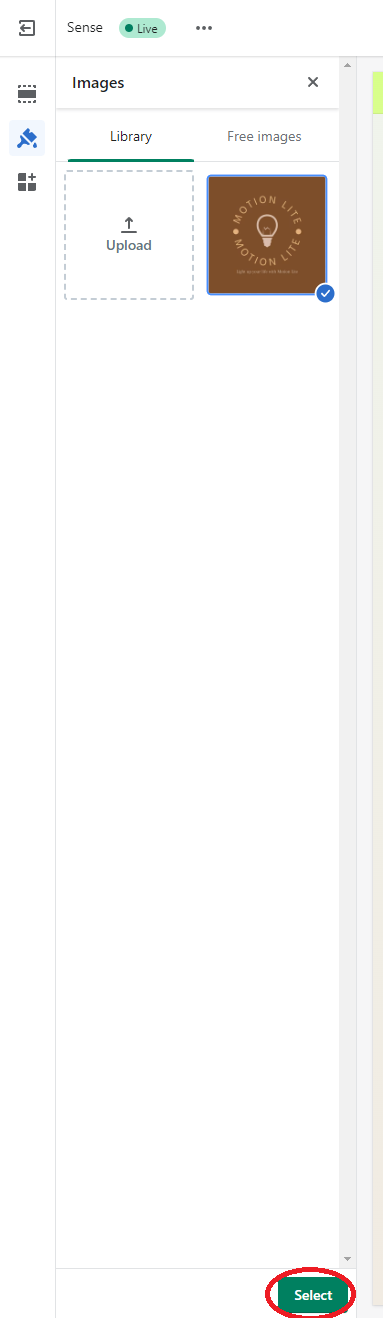
Press on upload an image and select the logo image you downloaded. Once uploaded it should look like this:
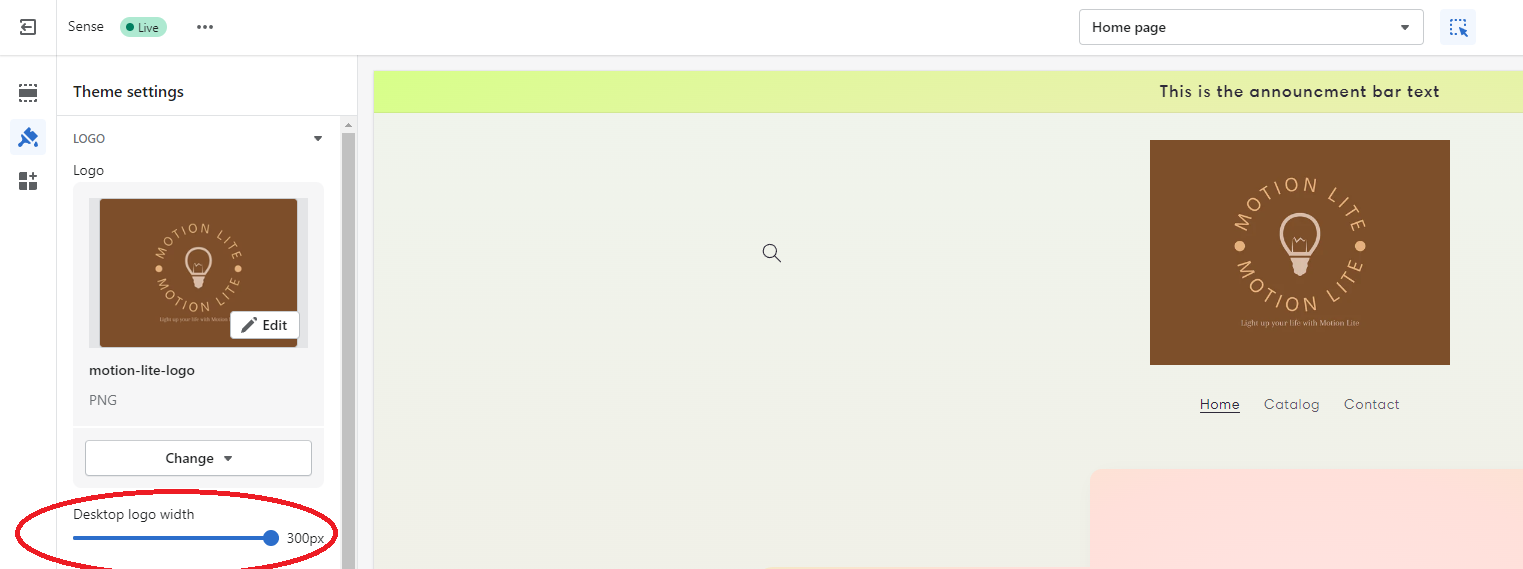
Resize your logo by dragging the slider and save the changes.
Go to your Downloads folder and open the brand-board zip file. It should contain a pdf file named BrandBoard. It should look like this.
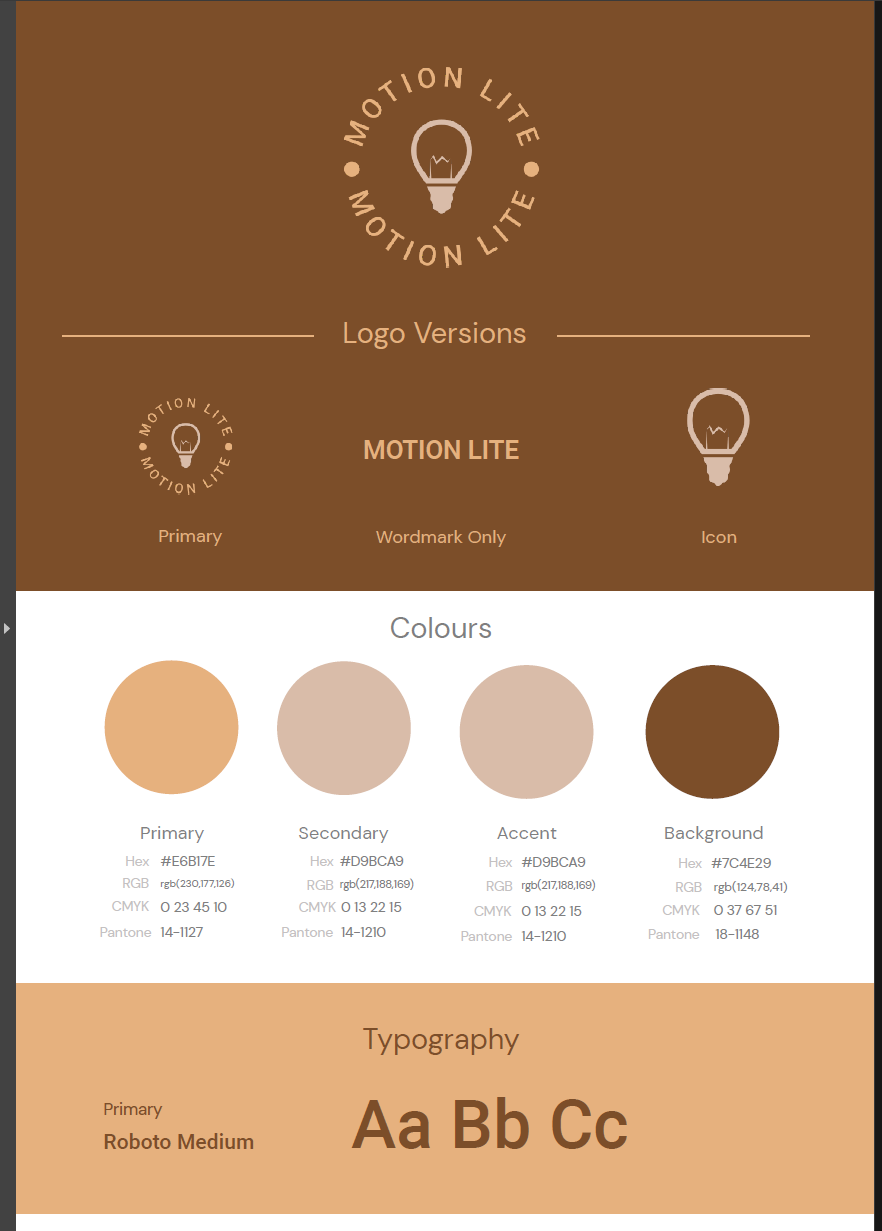
As a best practice, you could use the same logo font for the page content.
Example: If you generate your logo in Roboto font, you could use the Roboto font on your store page.
Step 26: Applying brand colors. Now you have your brand colors and font, head back to Shopify and in the left side Navigation Bar you should see a brush icon as you can see below.
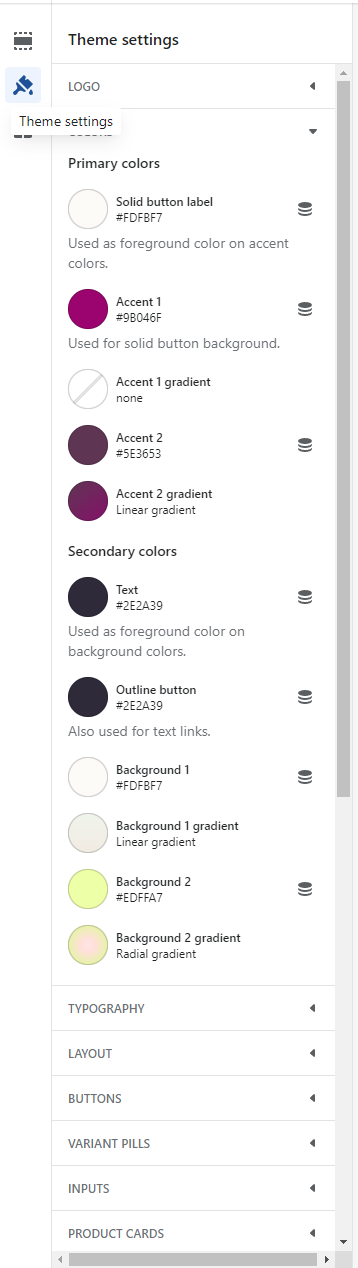
Here's a more visual example of how each color will change on your store page.
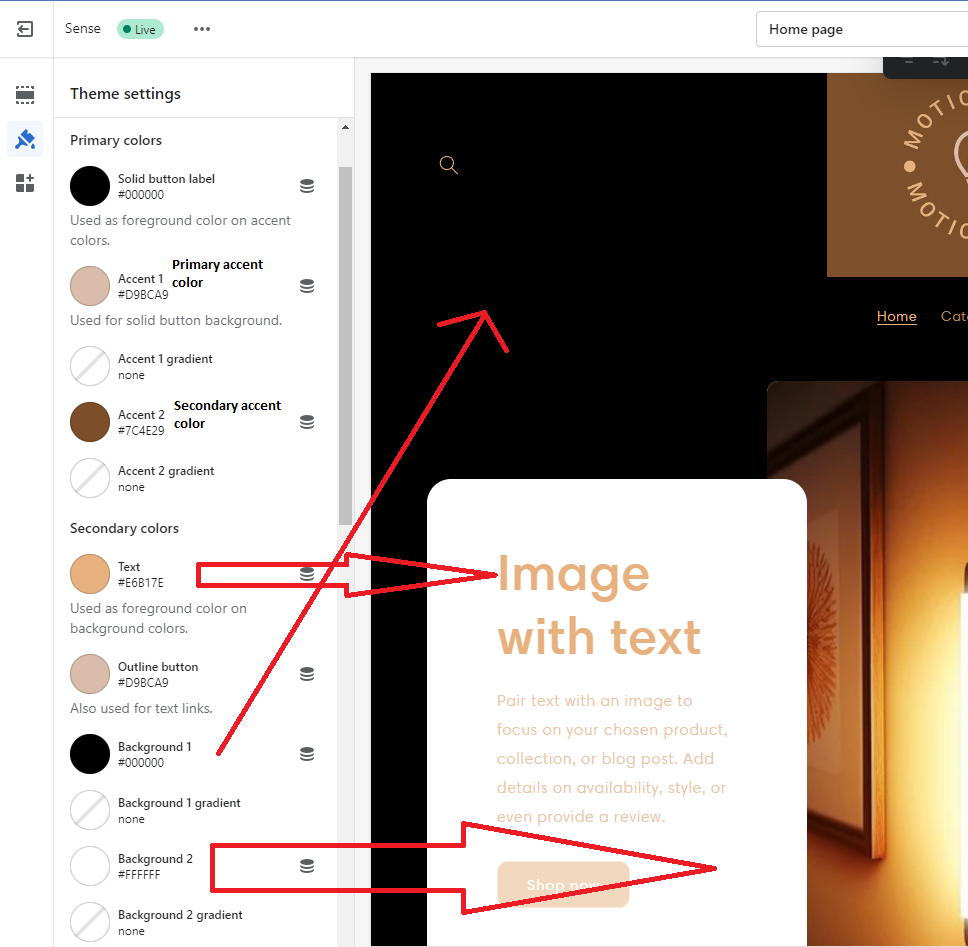
Let's do a background gradient color with a lighting effect to suit the product.
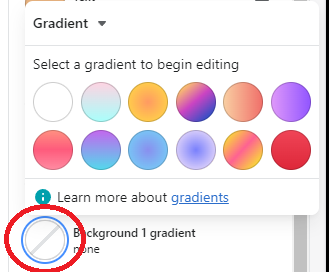
Click on Background 1 gradient and select any gradient.
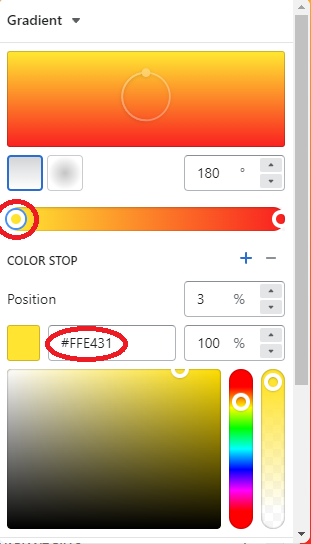
Go to the slider, click on the first circle then put in the hex code of the color you want to use.
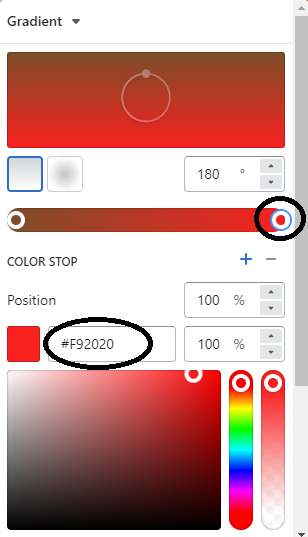
Go to the slider, click on the second circle then put in the hex code of the color you want to use and drag the circles on the slider accordingly (until you like the way it looks).
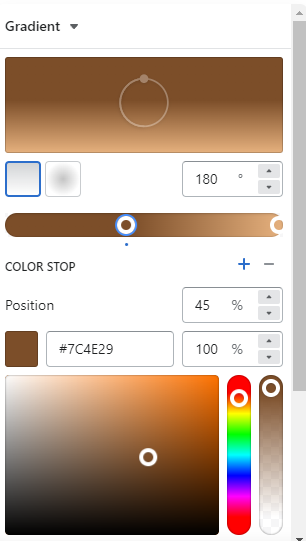
This is how it looks after setting the Background 1 gradient. I'll do the same thing for the Background 2 gradient
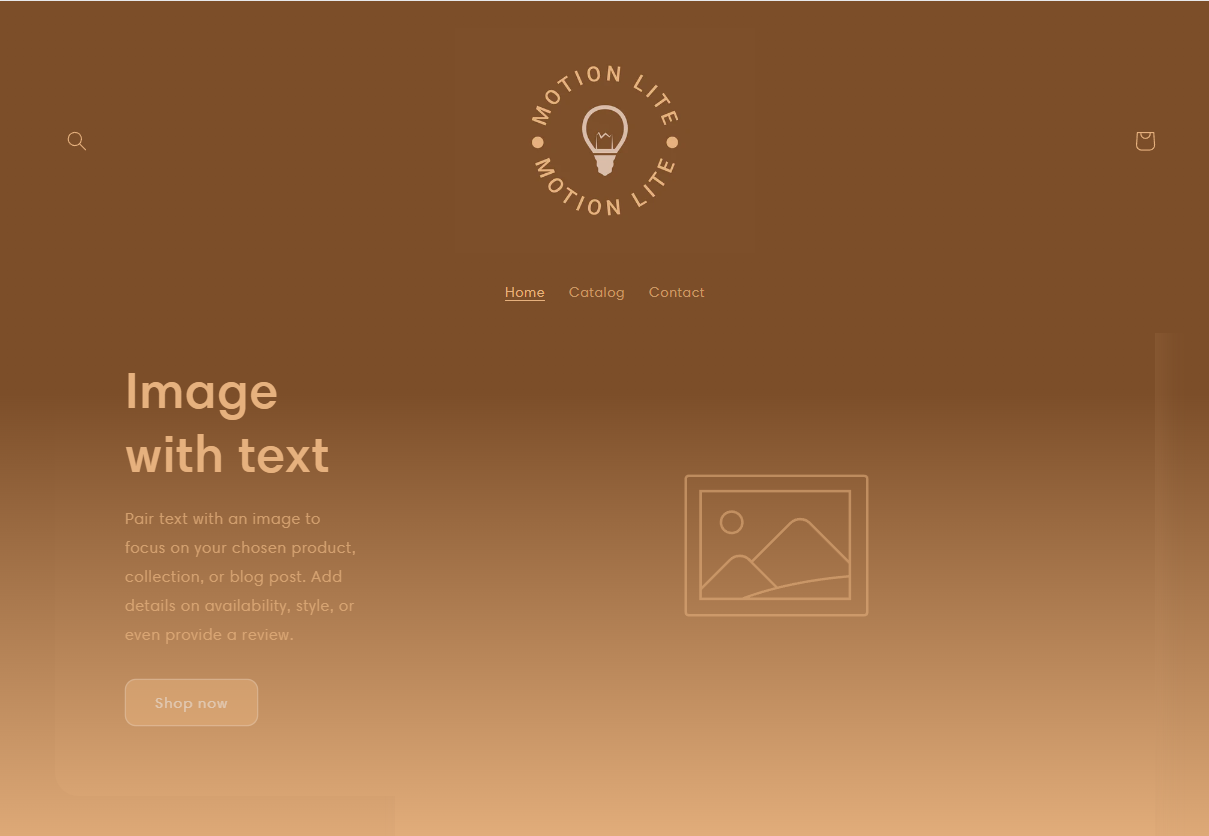
This is how the page looks after setting Background gradients.
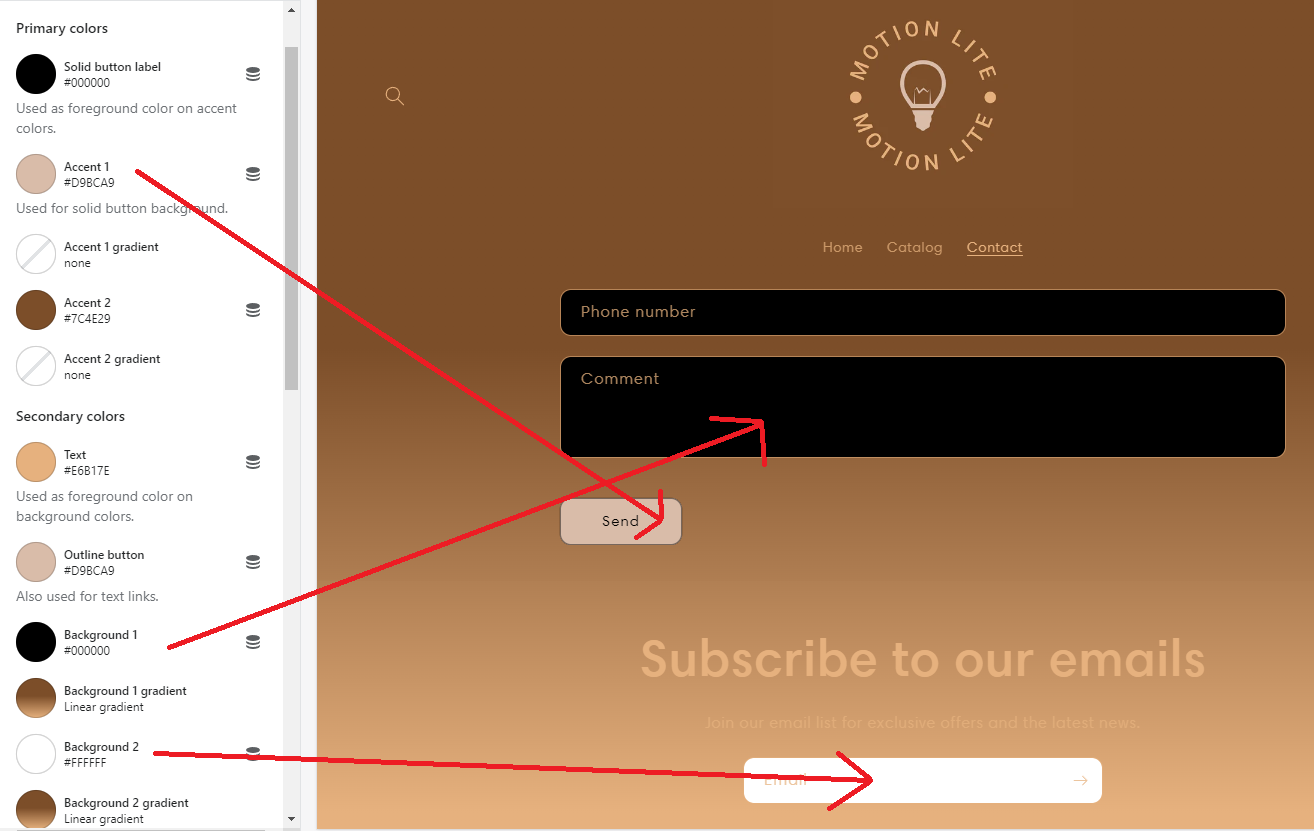
On the contact page you can see, the Accent 1 is the color of the Send button, the solid button label is the text color of the Send button.
Background 1 is the color of the Comment, Phone number, Name and Contact field.
Background 2 is the color of the Email field.
Step 27: Setting the same Font all around the page, go to Theme settings, click on Typography, then click on Change.
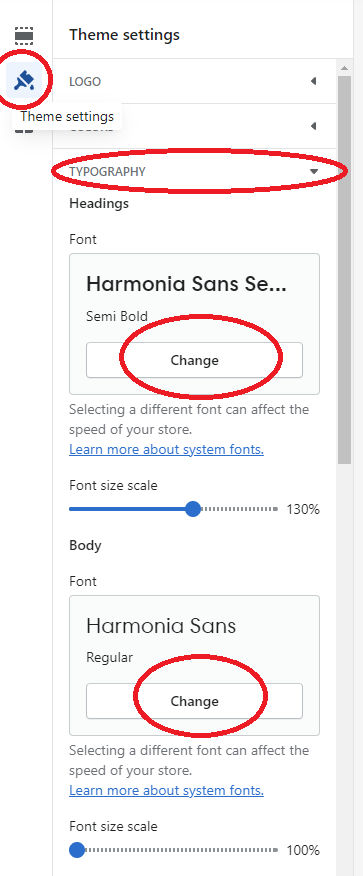
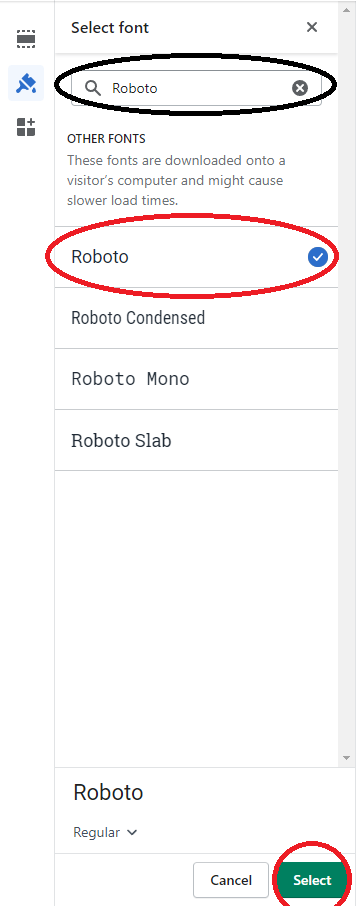
Type in the Font name you want to use, select it, press Select, then head on to the right corner and press Save.
Step 28: Select the Favicon
Go to Theme Settings, press on Select image
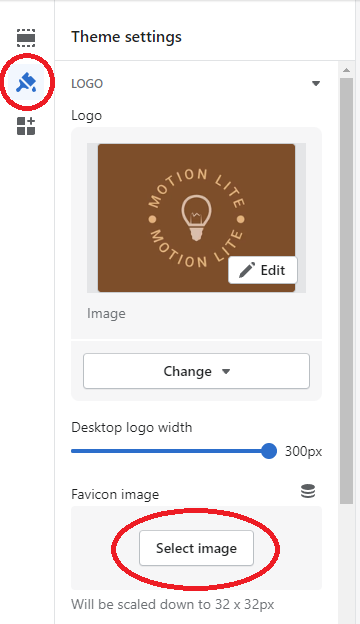
Once you've done this, select the image you want to use as a Favicon, I usually put the logo as a Favicon. Then press Select and Save.
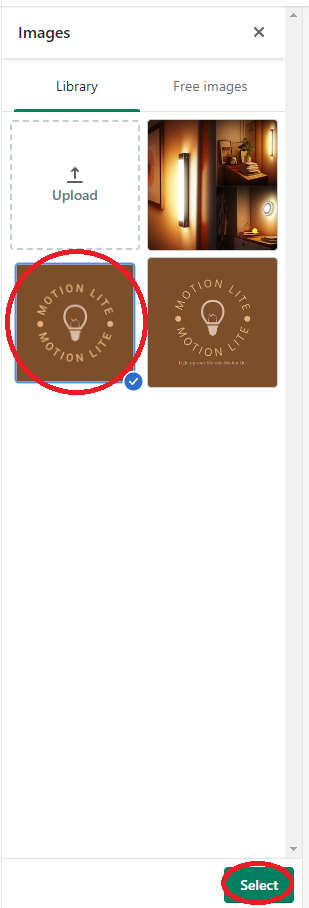
Step 29: Let's head back to Sections tab from the left Navigation Bar and select Image with text
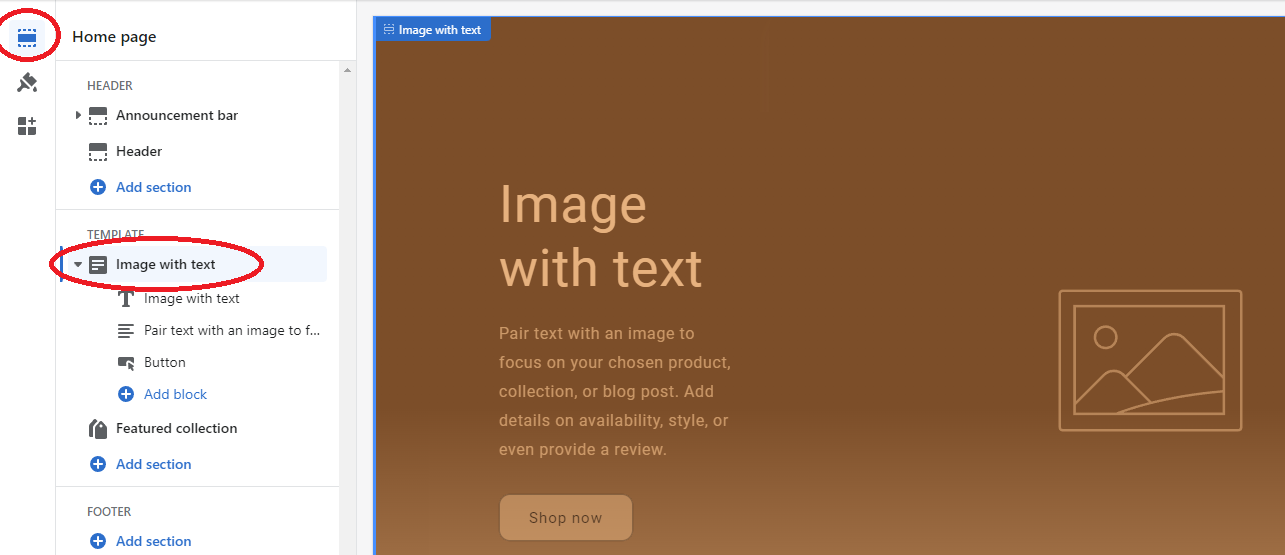
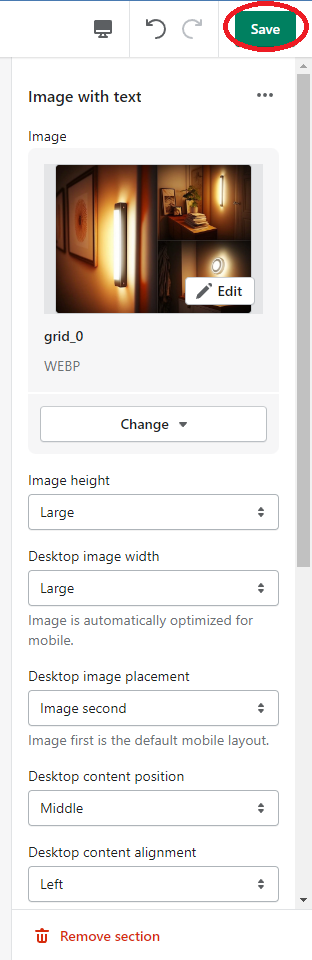
Step 30: Go to the right side and click where it says Select image
You'll also have some options here to format the Image, set the Image height, its position and so on.
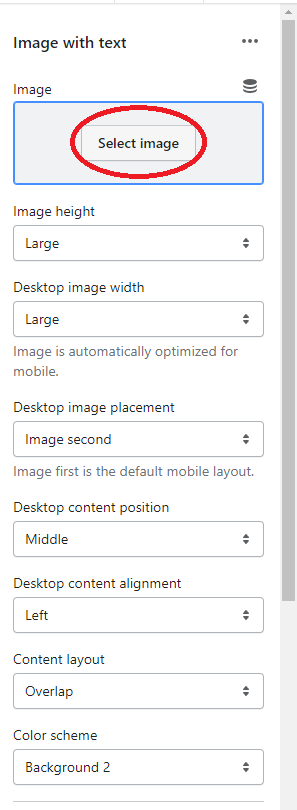
The Content layout, by default it is set to Overlap, but I will set it to No overlap.
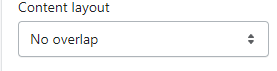
Now select the Image you want to use for your first section, also known as Hero section and click Select
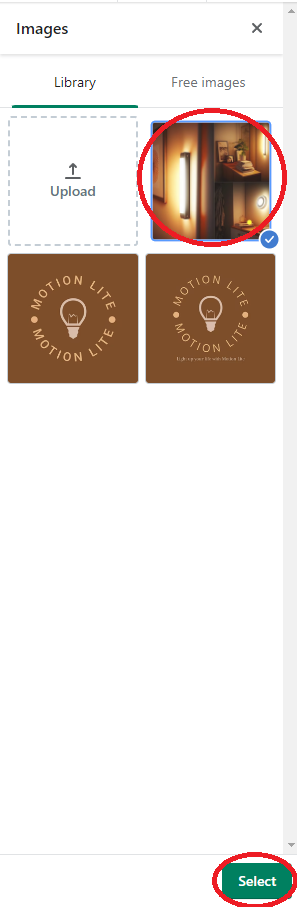
Remember, to always Save the change.
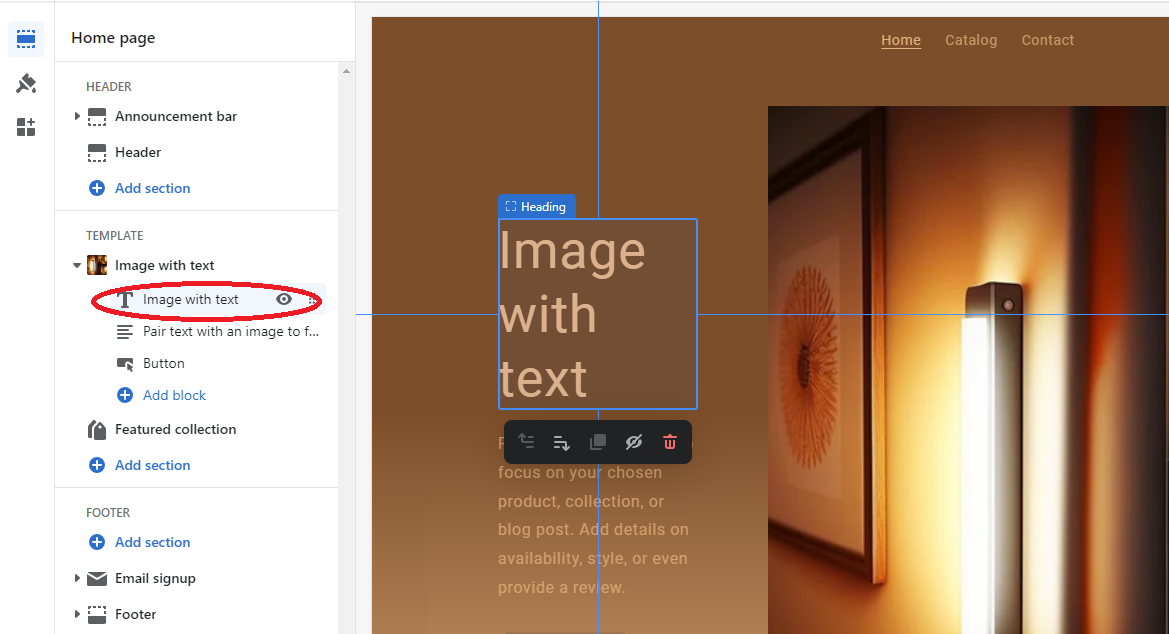
Step 31: Let's change the Herotext, on the left side navigation bar, under the Template section, click on Image with text
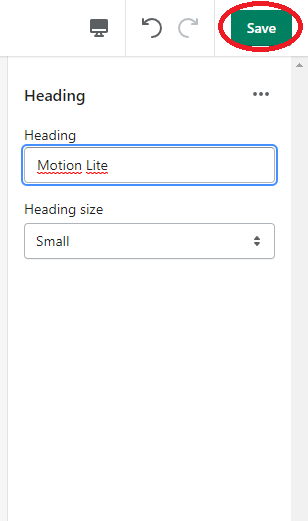
On the right side nav bar you should see this:
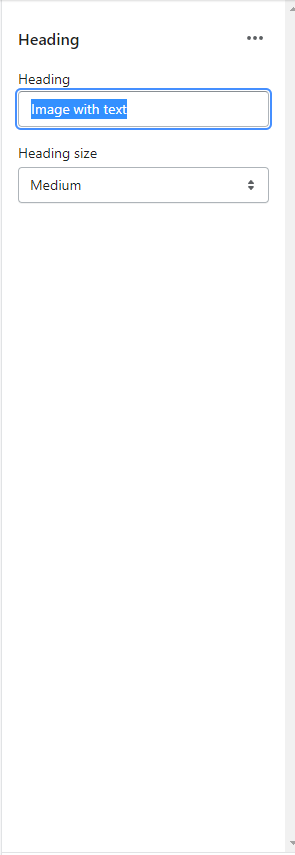
Change the Heading to the one you want to use and Save the changes.
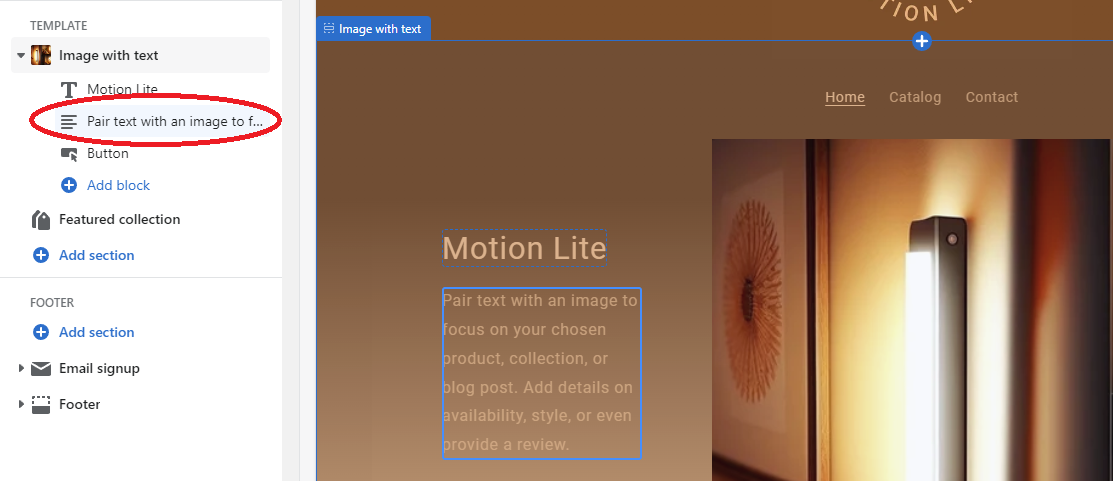
Now, it's your turn to do the same thing for the Text block as you can see below.
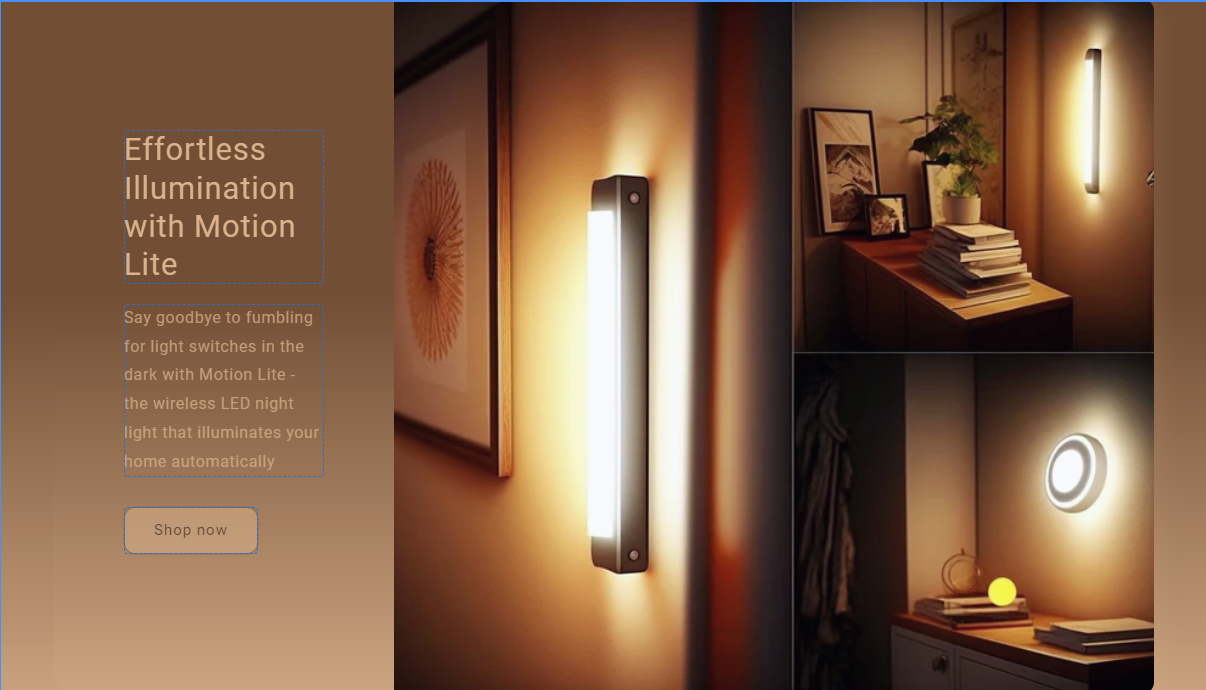
This is how the Hero section looks like right now
Note: I've changed the Heading.
Step 32: Before Importing products
Our store design is ready, before importing the products we are going to create a few more pages.
Keep in mind: It is imperative that the products comply with the rules and regulations of the country in which the store is situated and that they meet the necessary legal requirements. This necessitates ensuring that the products conform to relevant safety and regulatory standards, as well as satisfying any requirements for packaging and labeling. Additionally, it is essential to fulfill tax obligations when importing products, including remitting any applicable import taxes or customs fees. So before proceeding I highly encourage you to do the research accordingly for the country of operation.
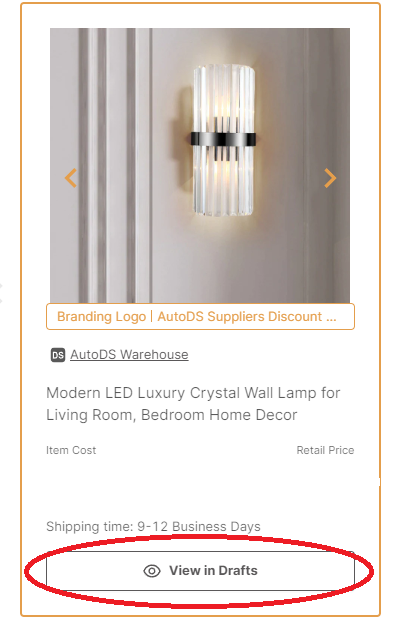
Important notice: As you can see this item is fulfilled by AutoDS, before you start dropshipping with this item I highly encourage you to read their terms and conditions.
Getting back to the Winning product we found on AutoDS, let's hover the cursor on the product picture, open it in a new tab , click on Import Draft and then click again because the button it will change to View in Drafts once you've imported it.
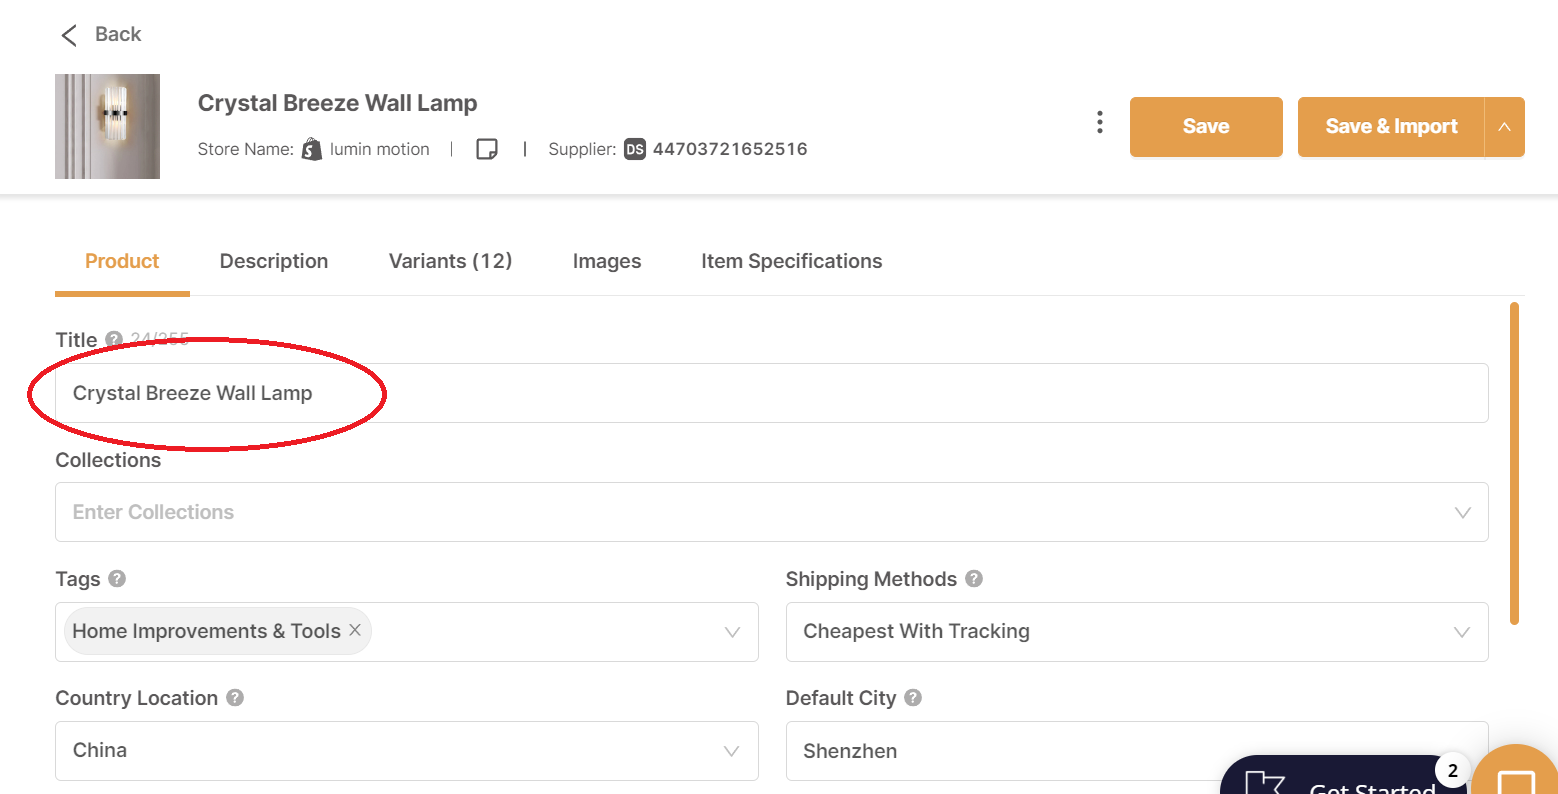
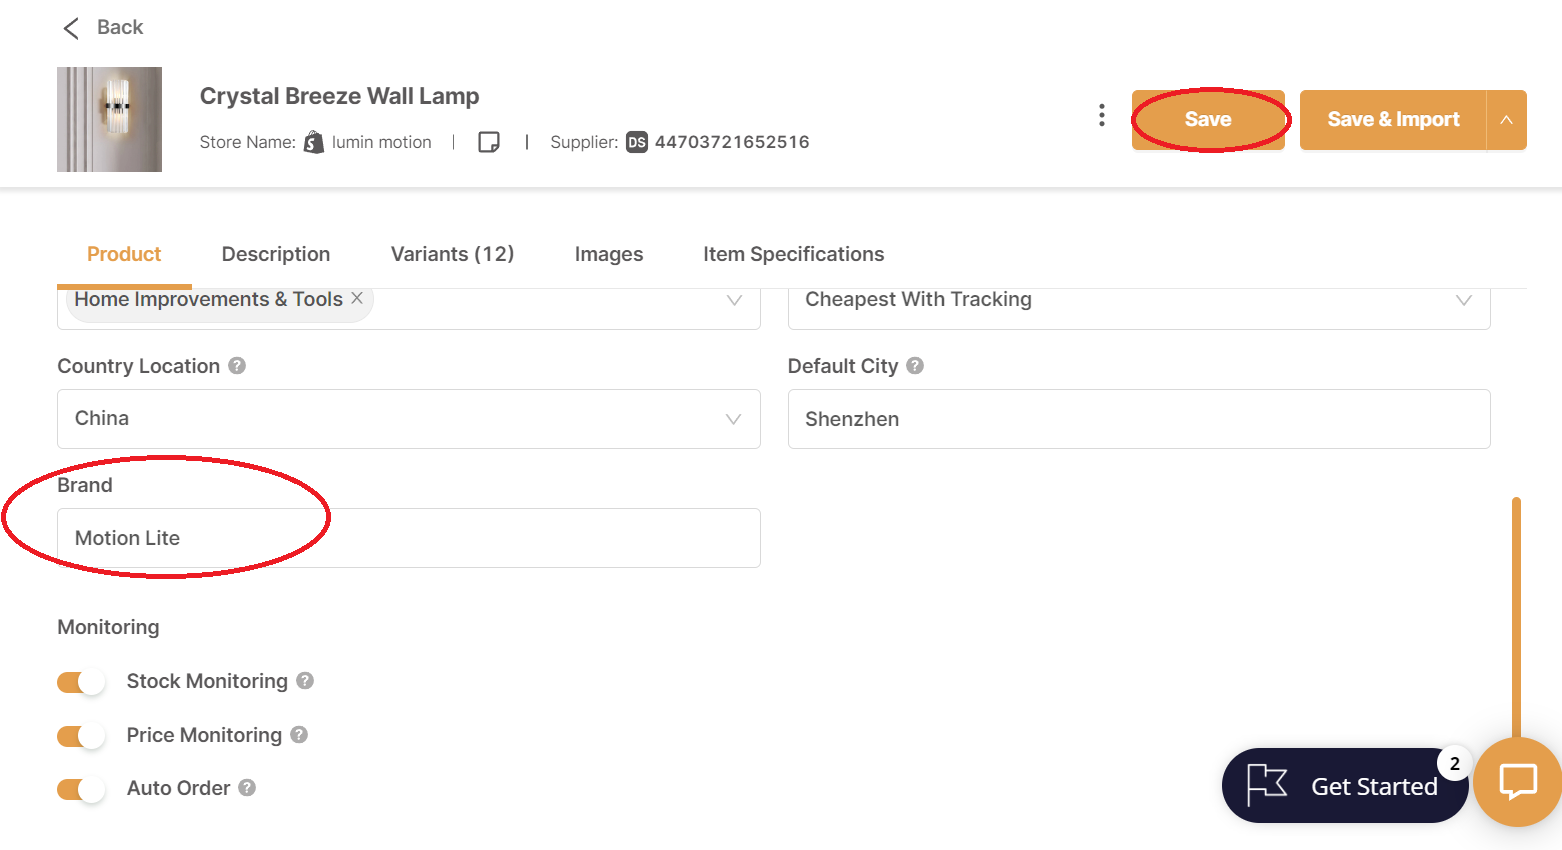
As you can see I've changed the name of the product, let's scroll down and put the name of the brand.
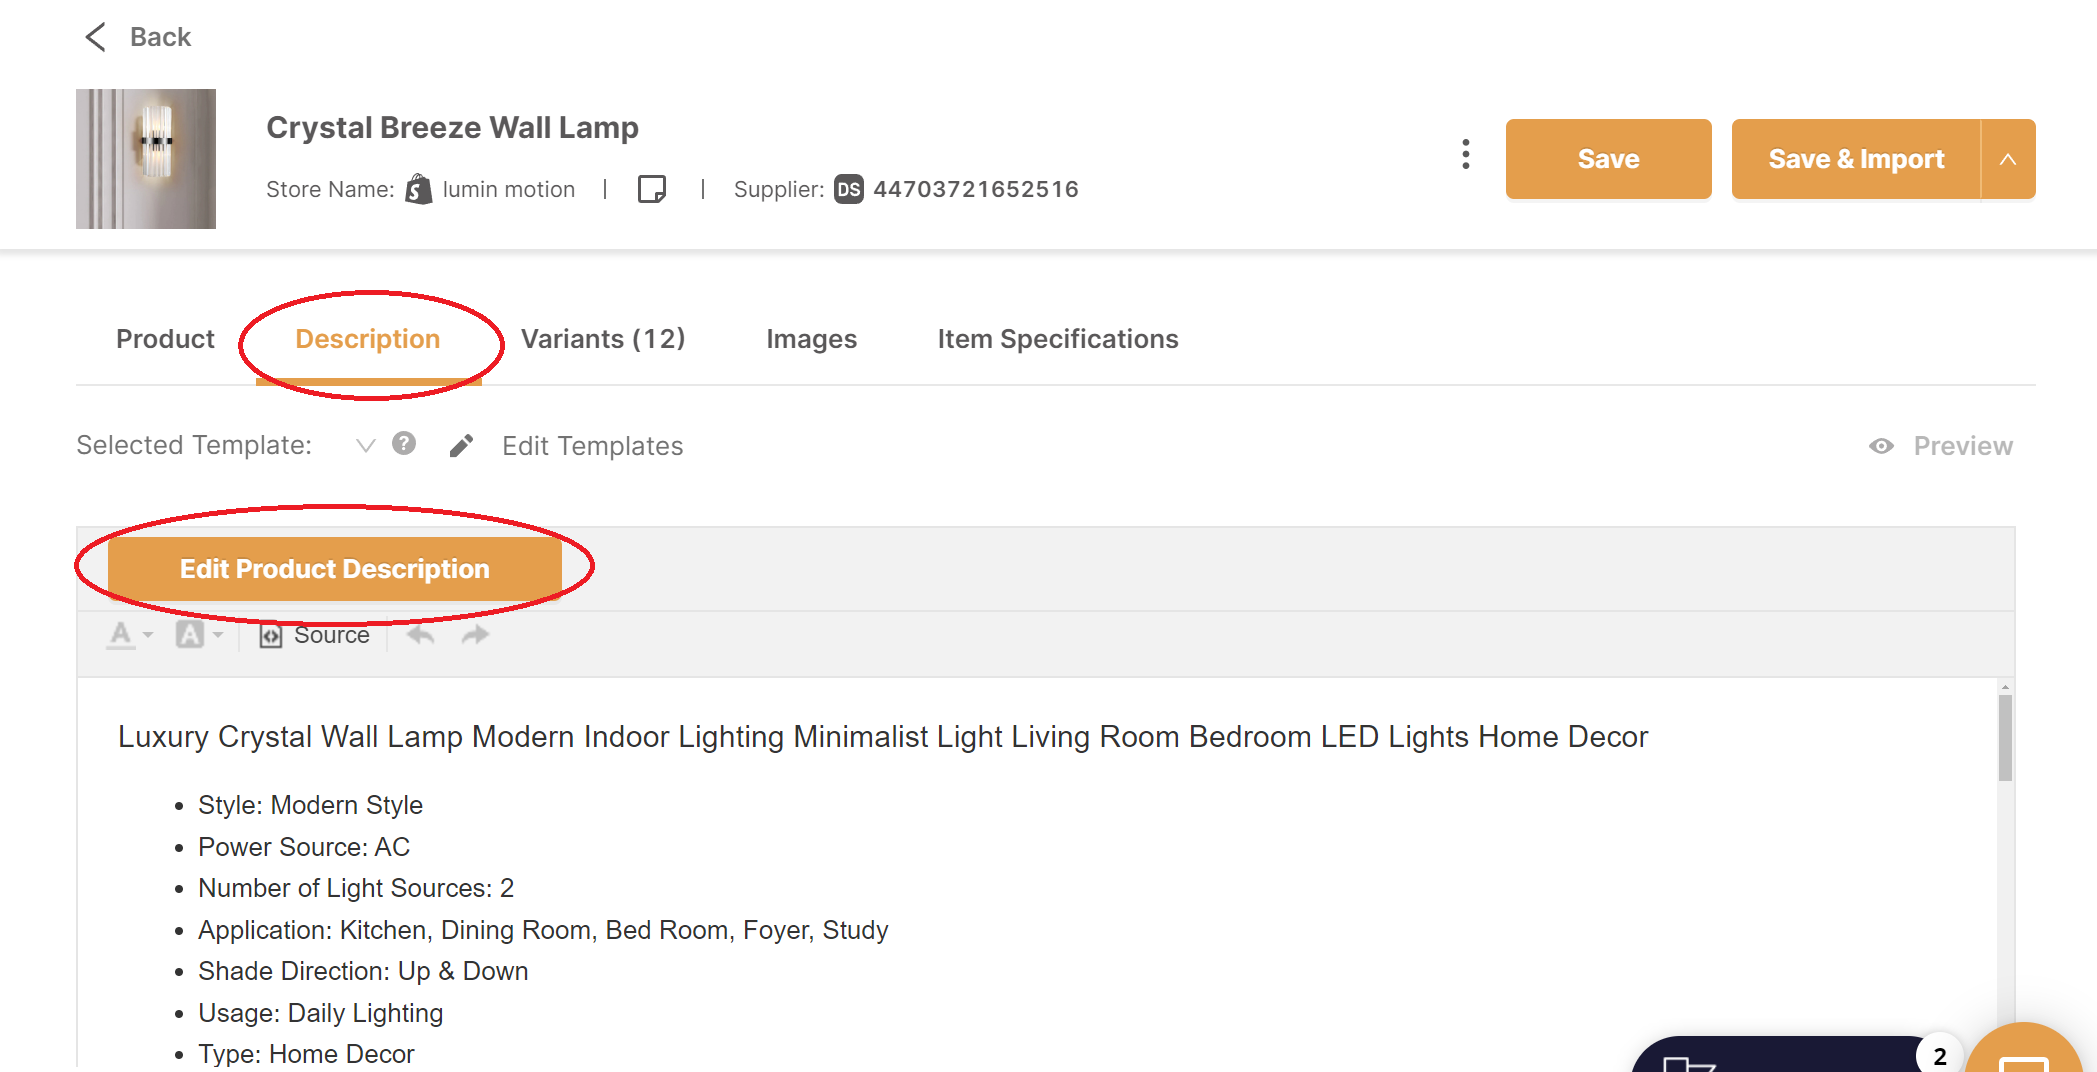
Now let's do the product description, click on the Description tab, click Edit product description. Now you can put your own description.
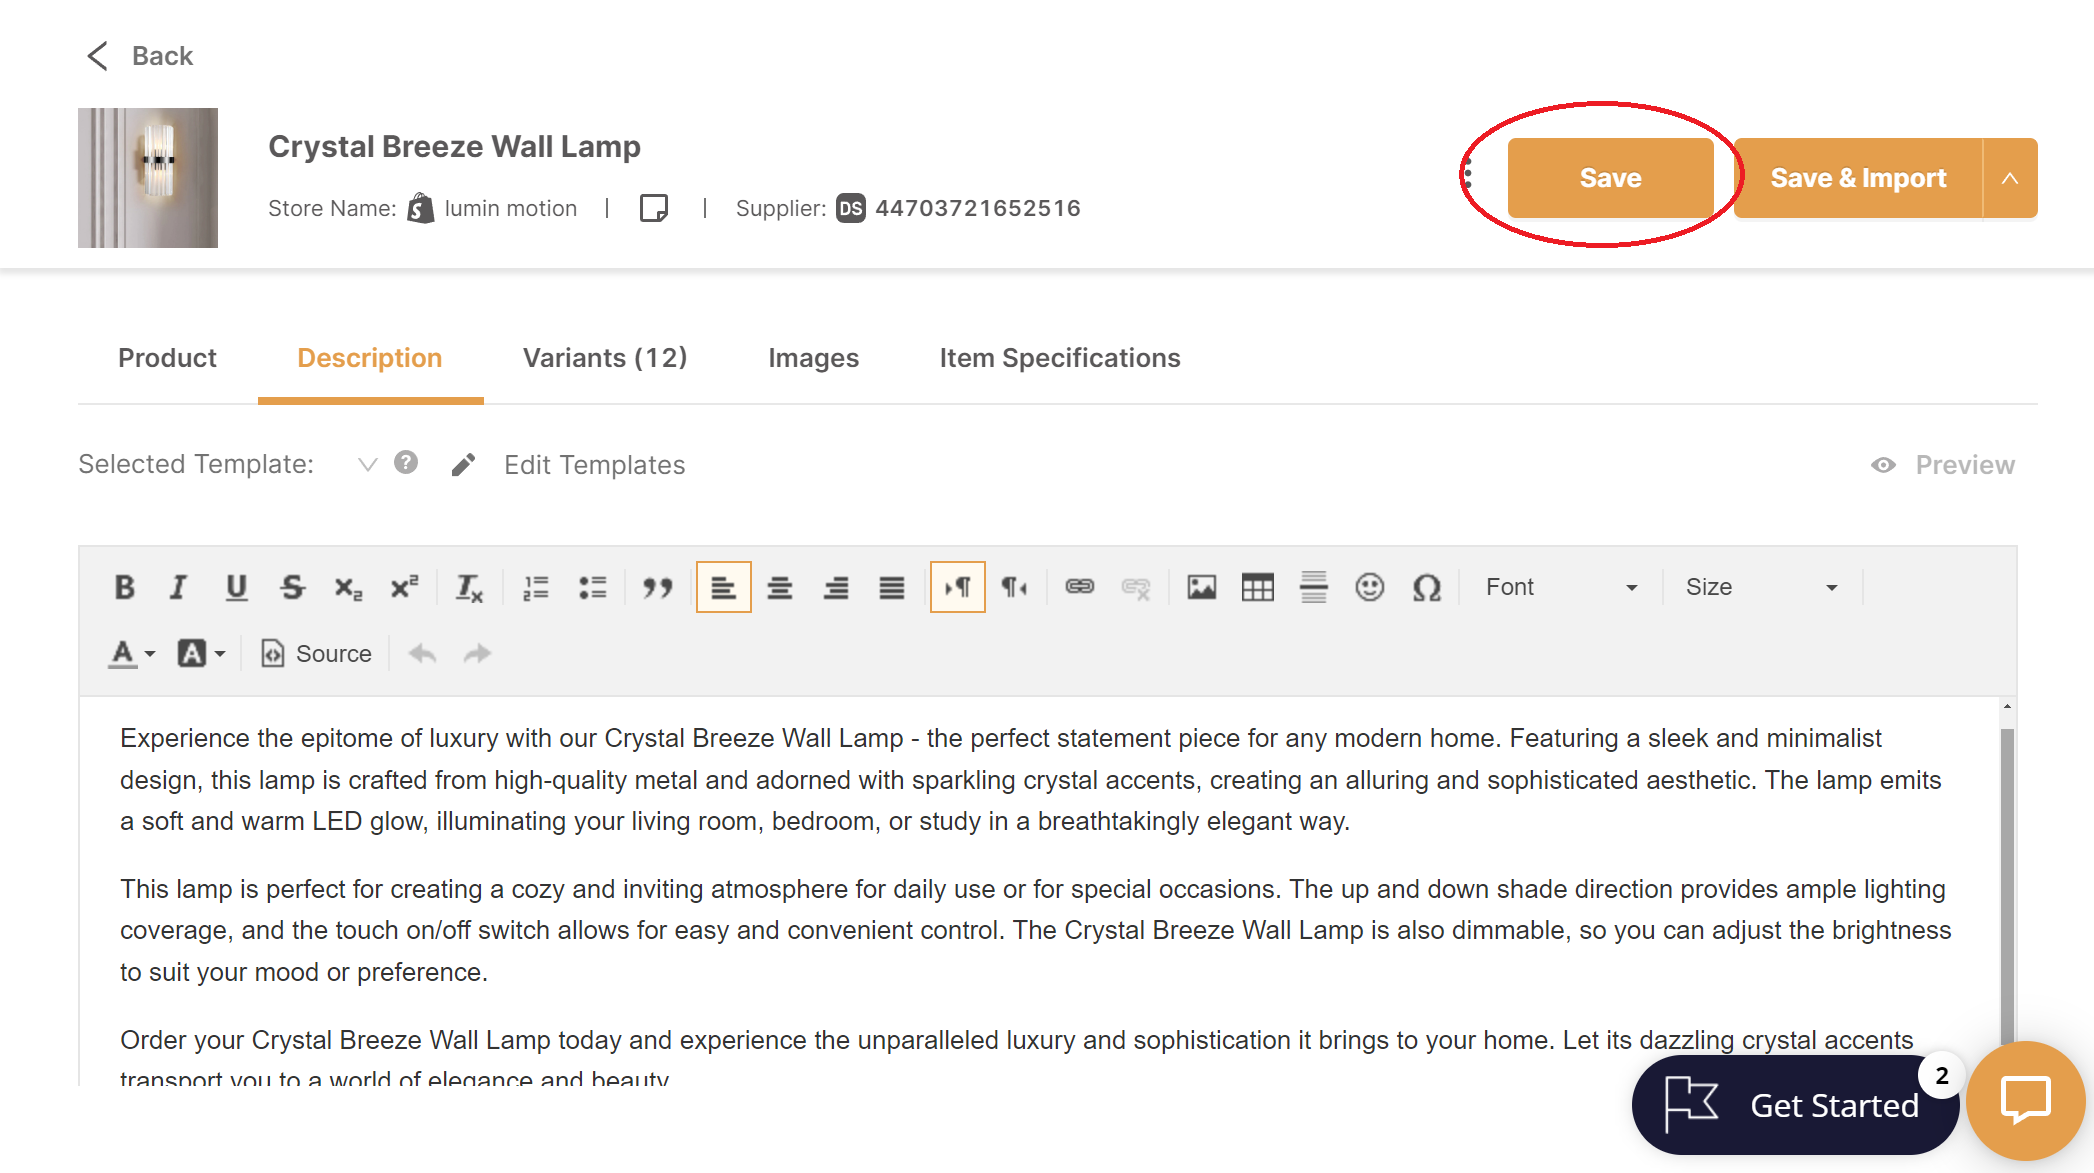
Once this is done, click Save and let's head on to the Variants tab.
We're now in the Variants tab, as you can see there's a typo, the word Black is mispelled, so let's click on Edit and fix it.
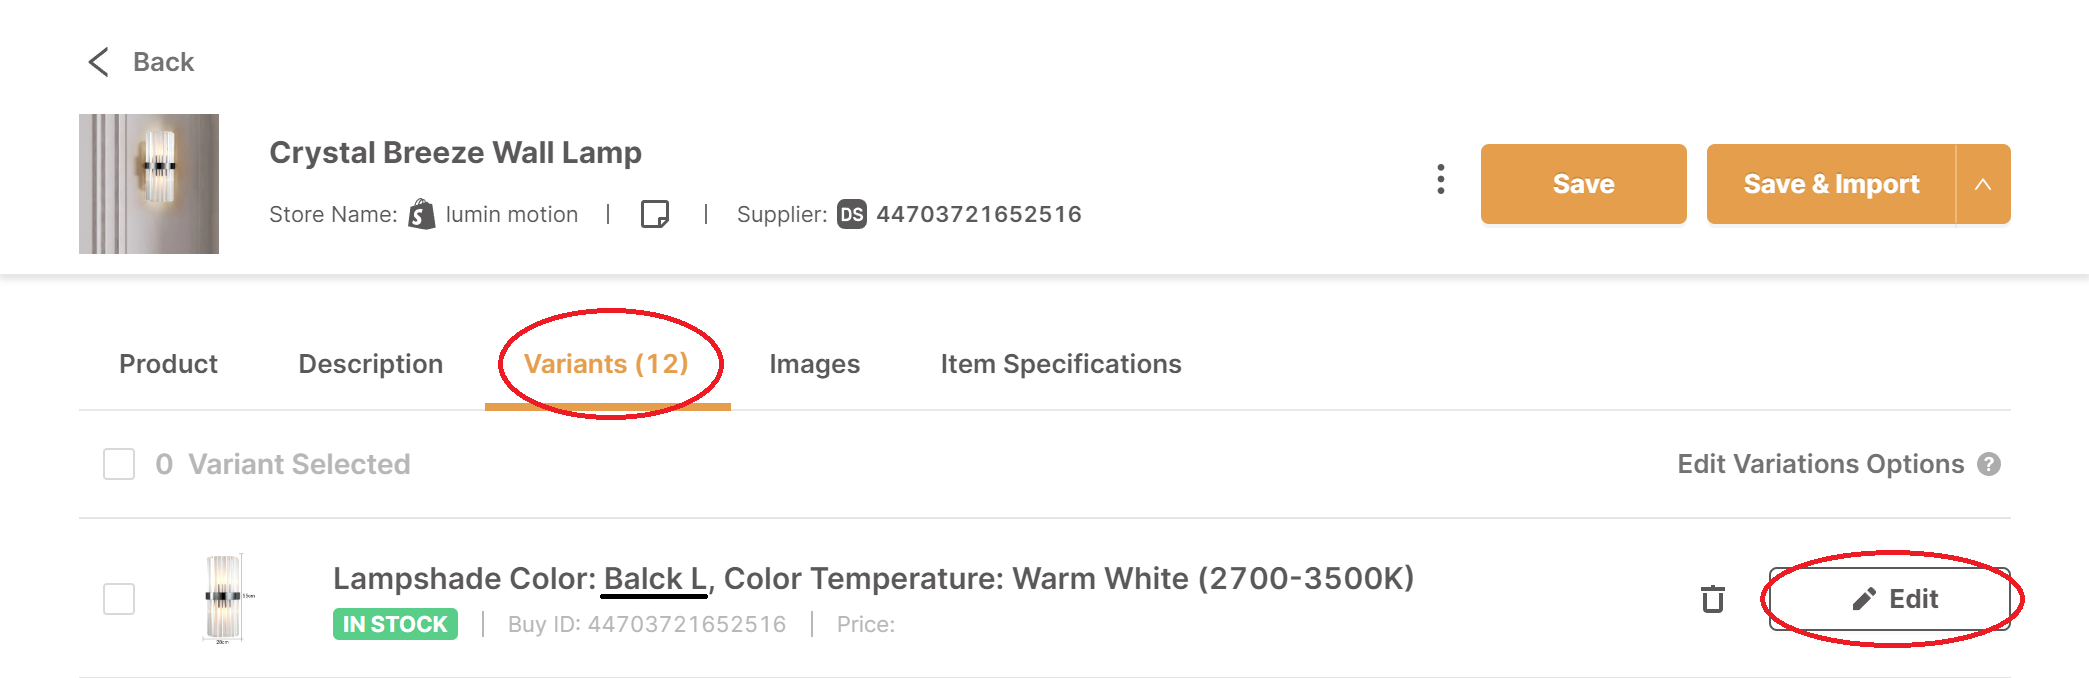
Once you've clicked on Edit you should see this
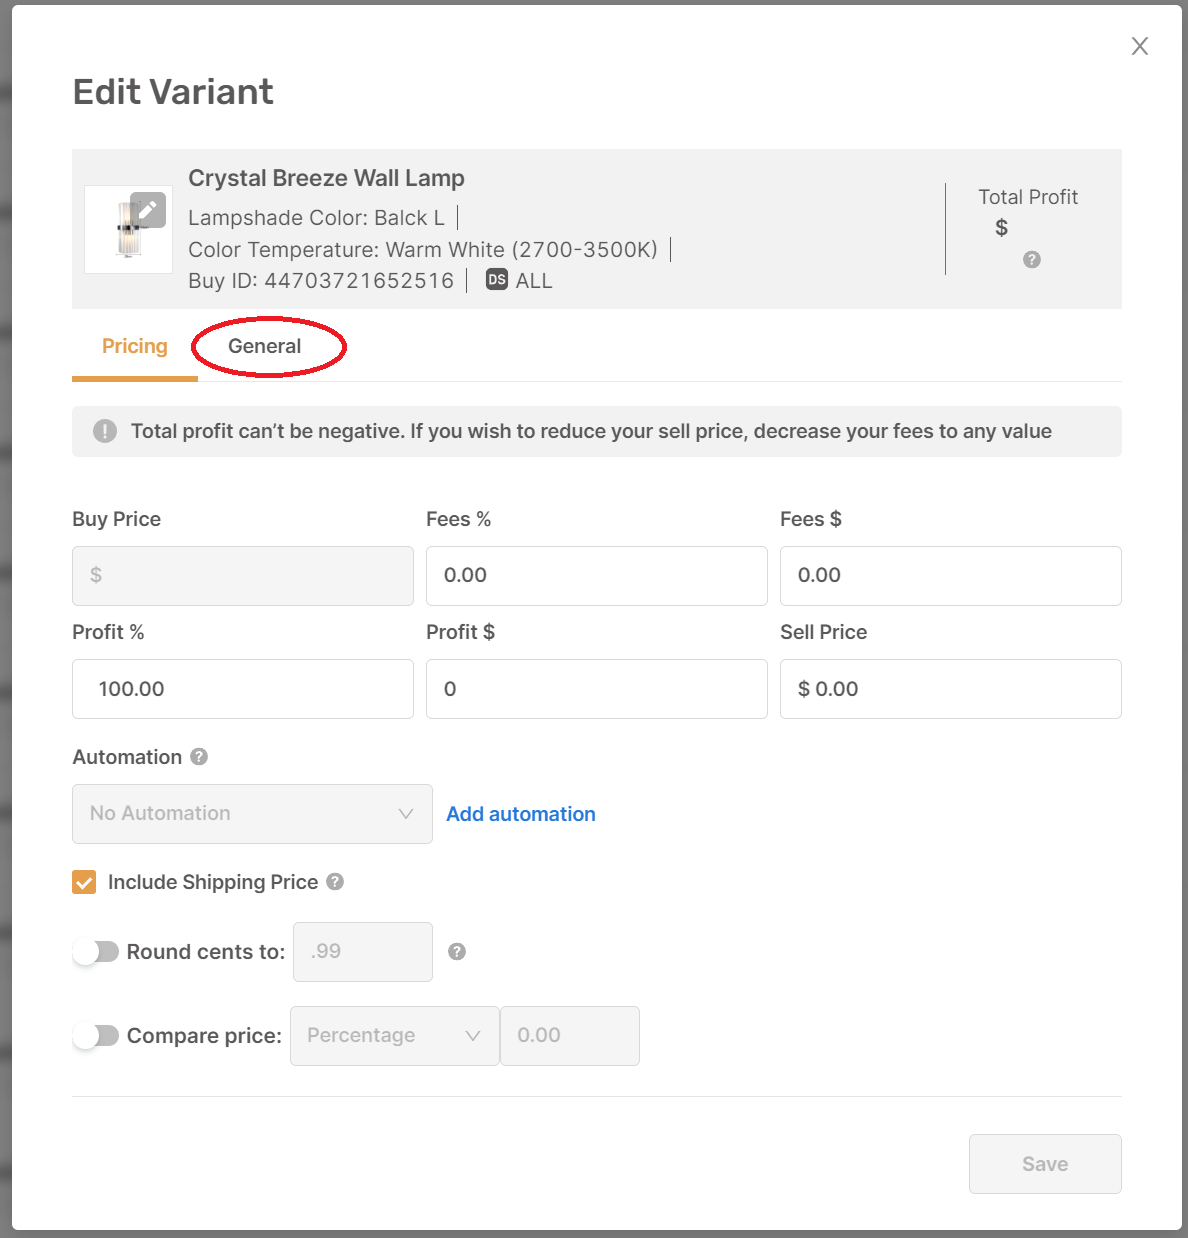
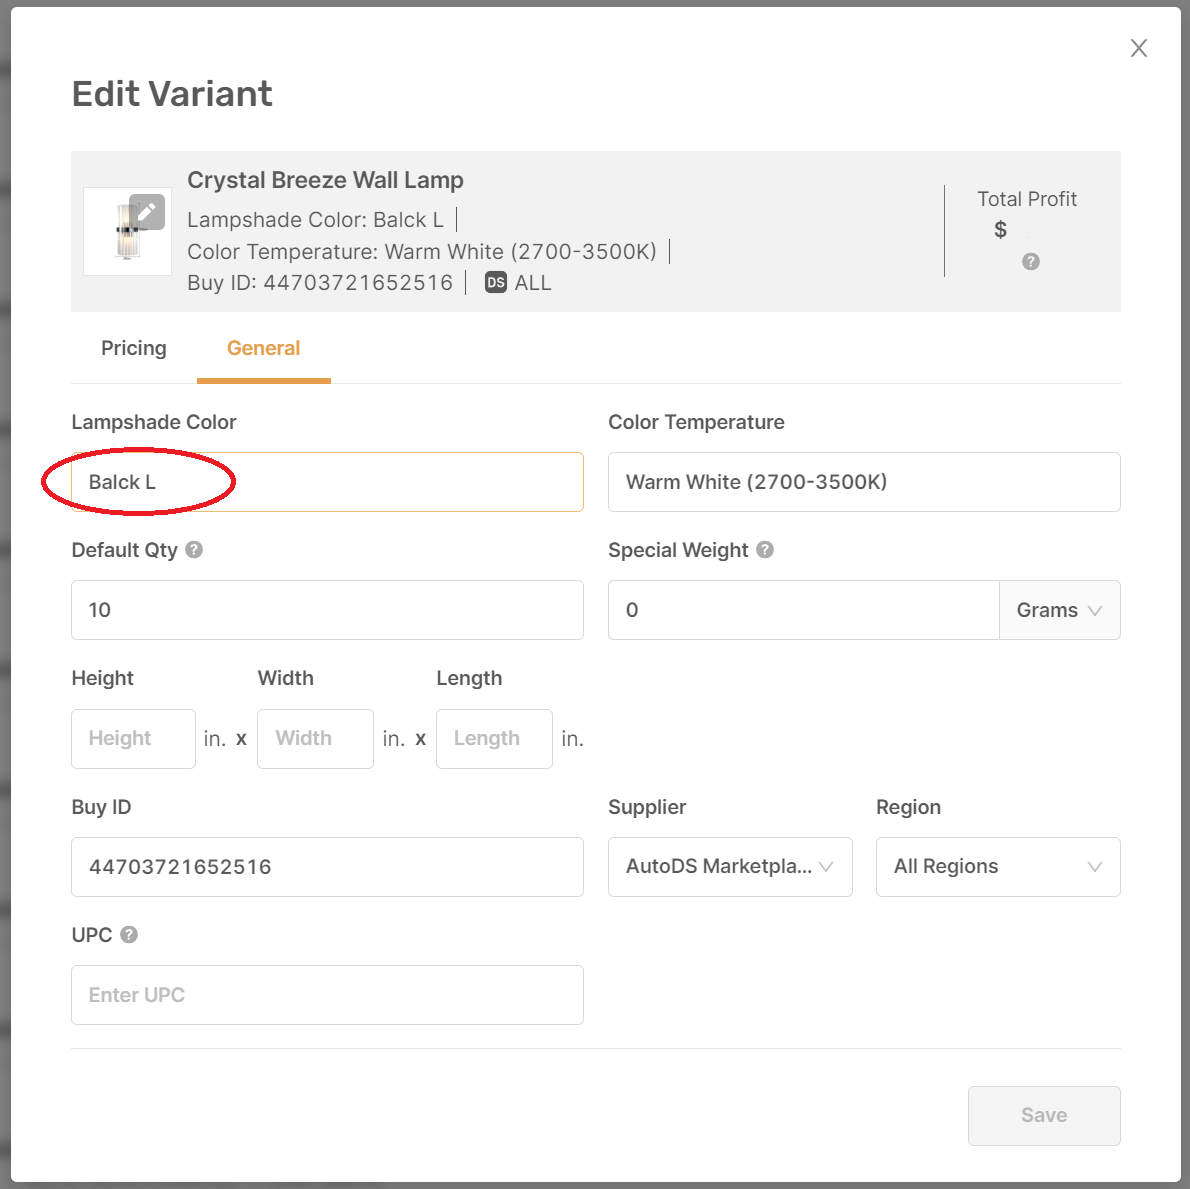
Here is where you set the sellprice of the product, the fees and the profit margin. Now, let's head on to the General tab and fix the typo of this variant.
Now this is optional but since Motion Lite is a brand let's add the logo to the package and invoice. Let's go to Settings. Click on the Store Settings tab, upload the logo, save the changes.
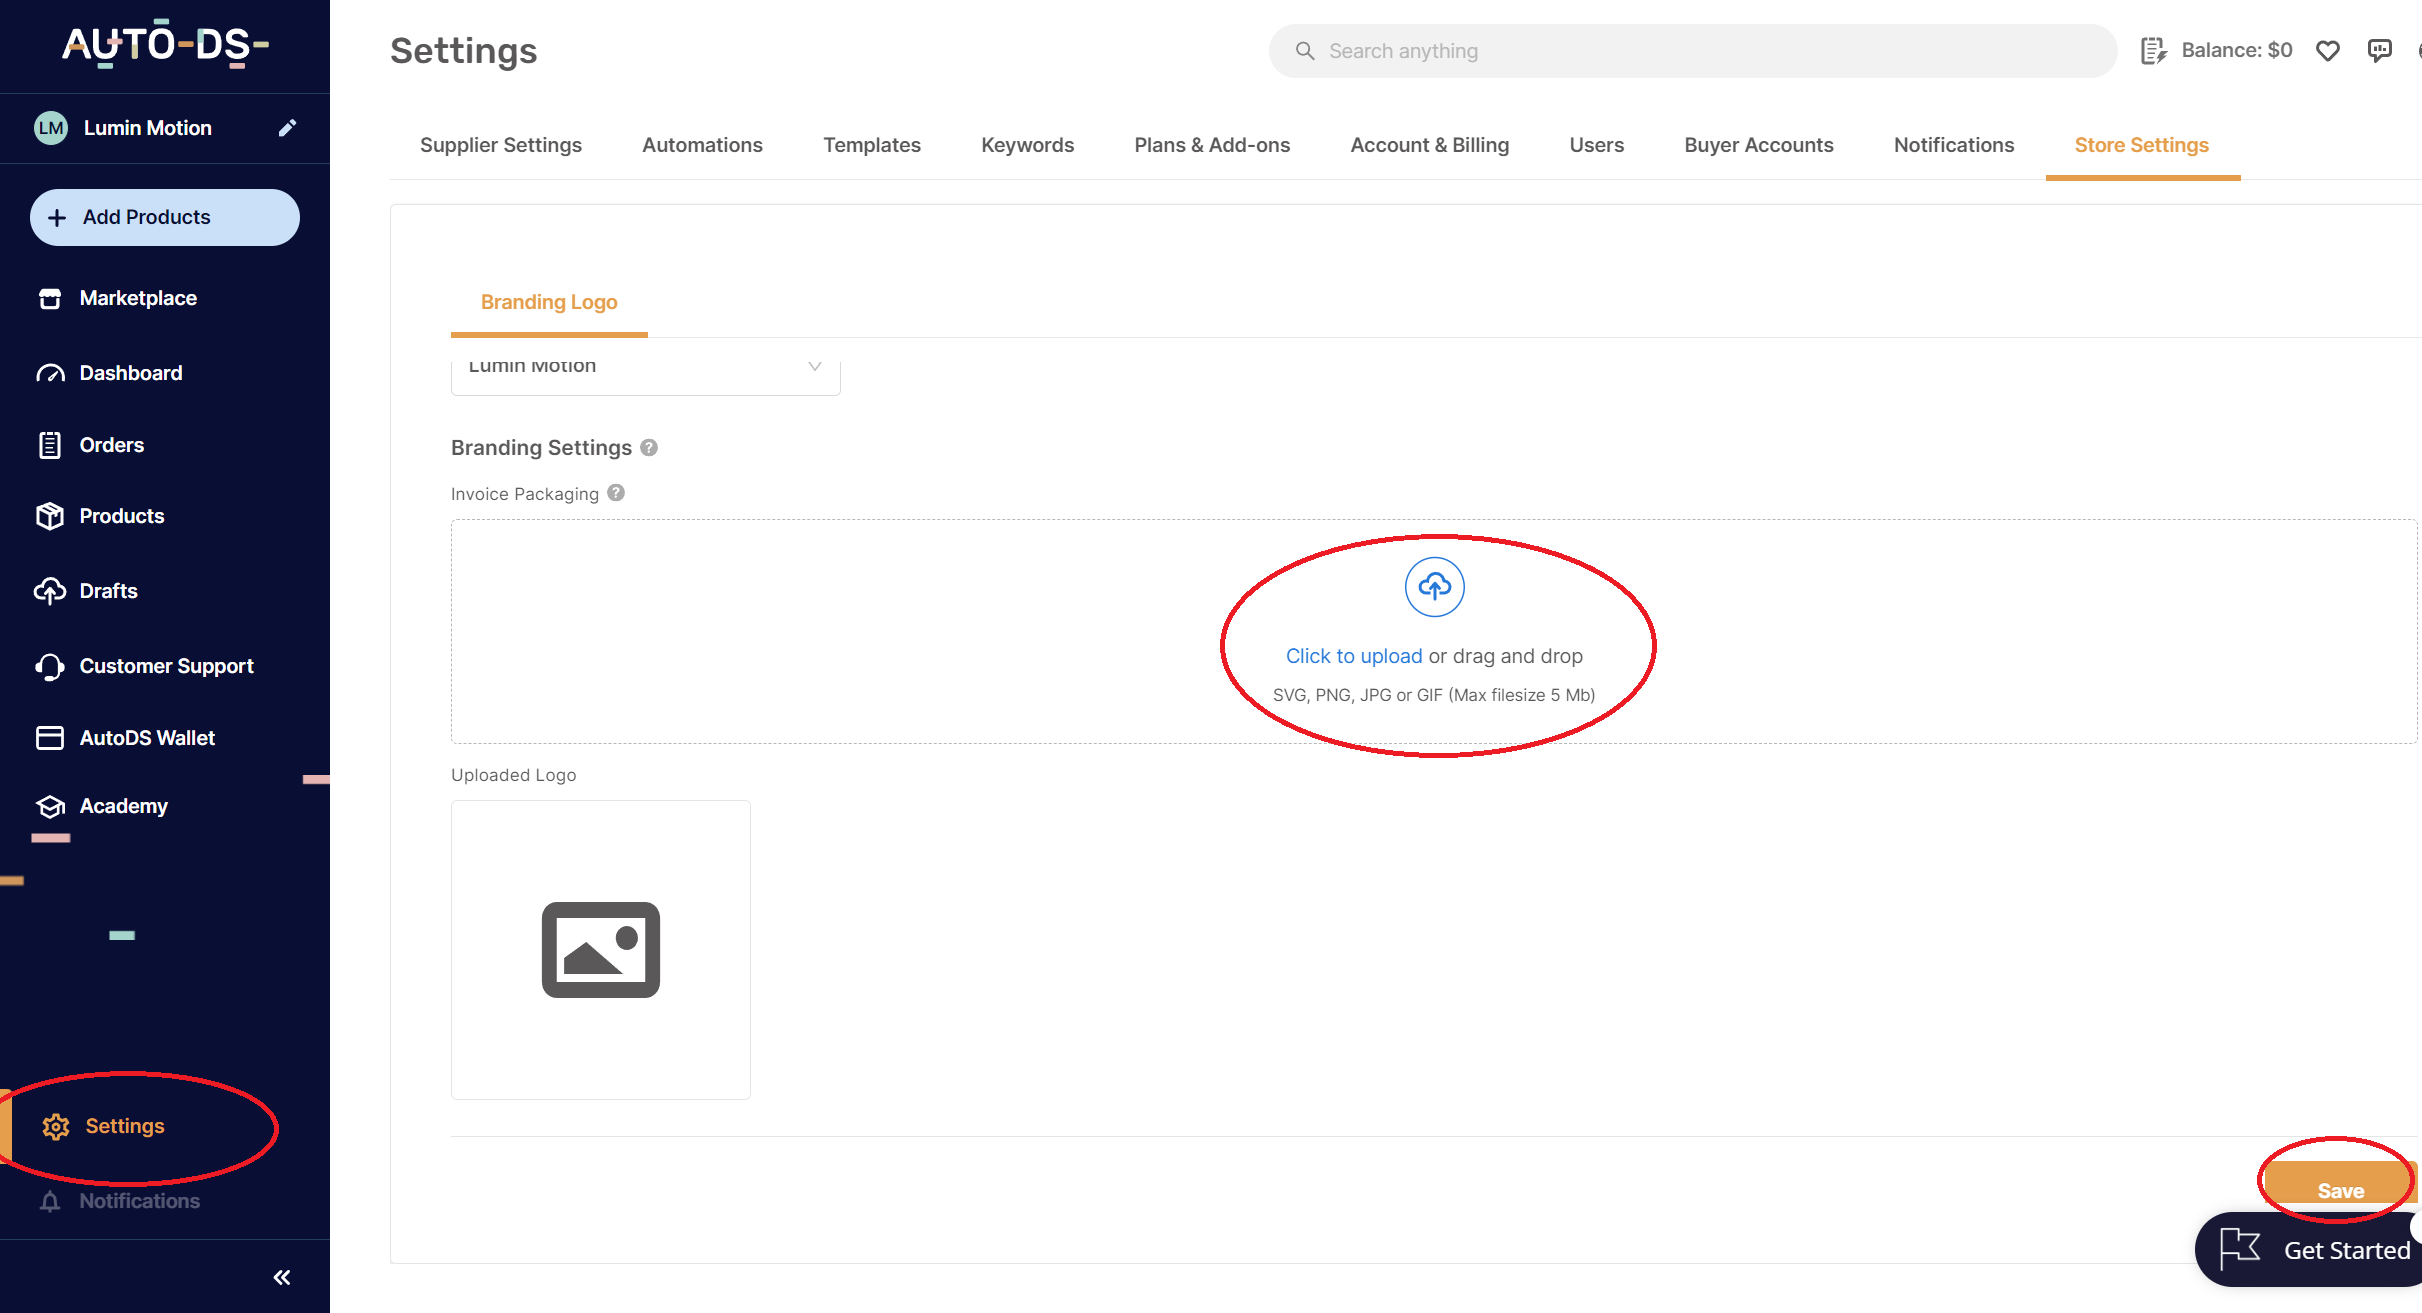
Save the changes you've made and let's go to the Images tab.
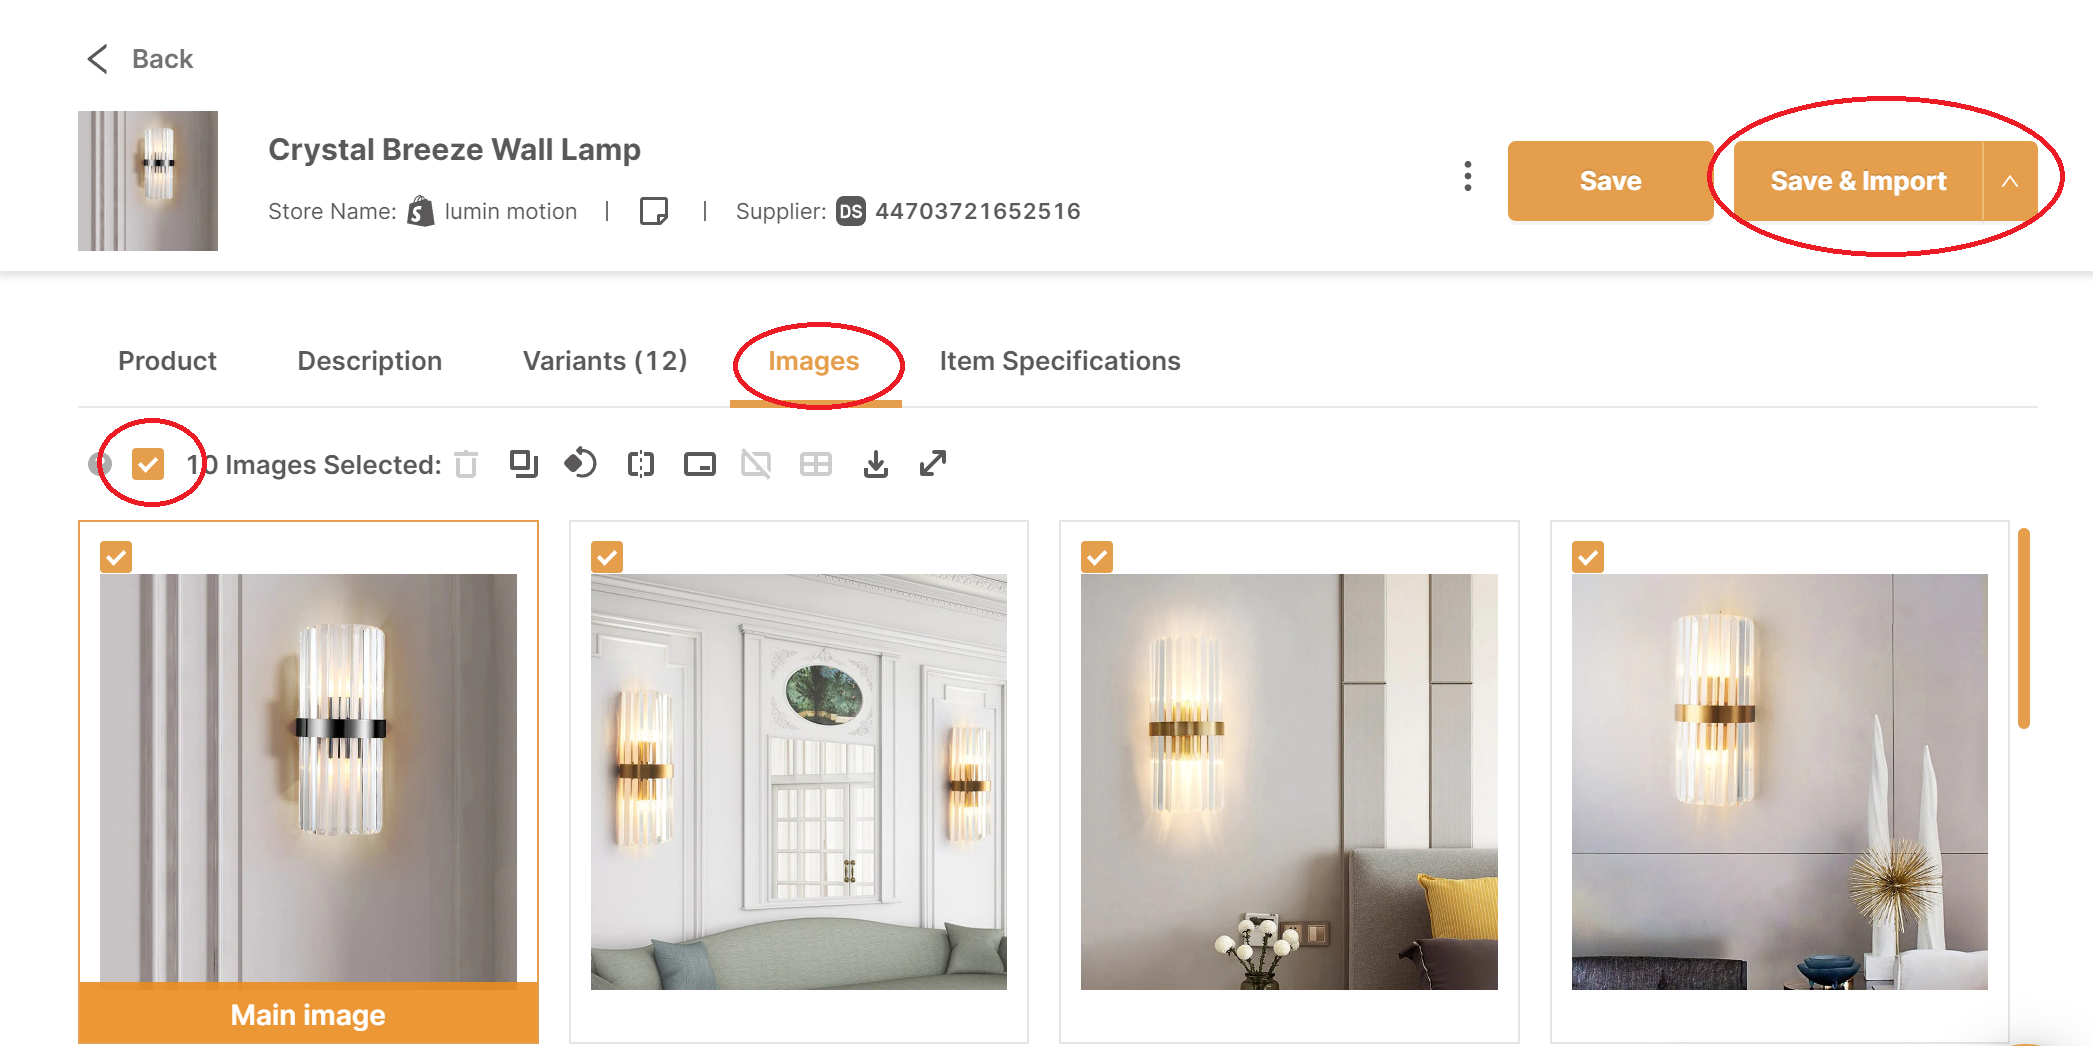
I'll select all the pictures and then click on Save & Import.
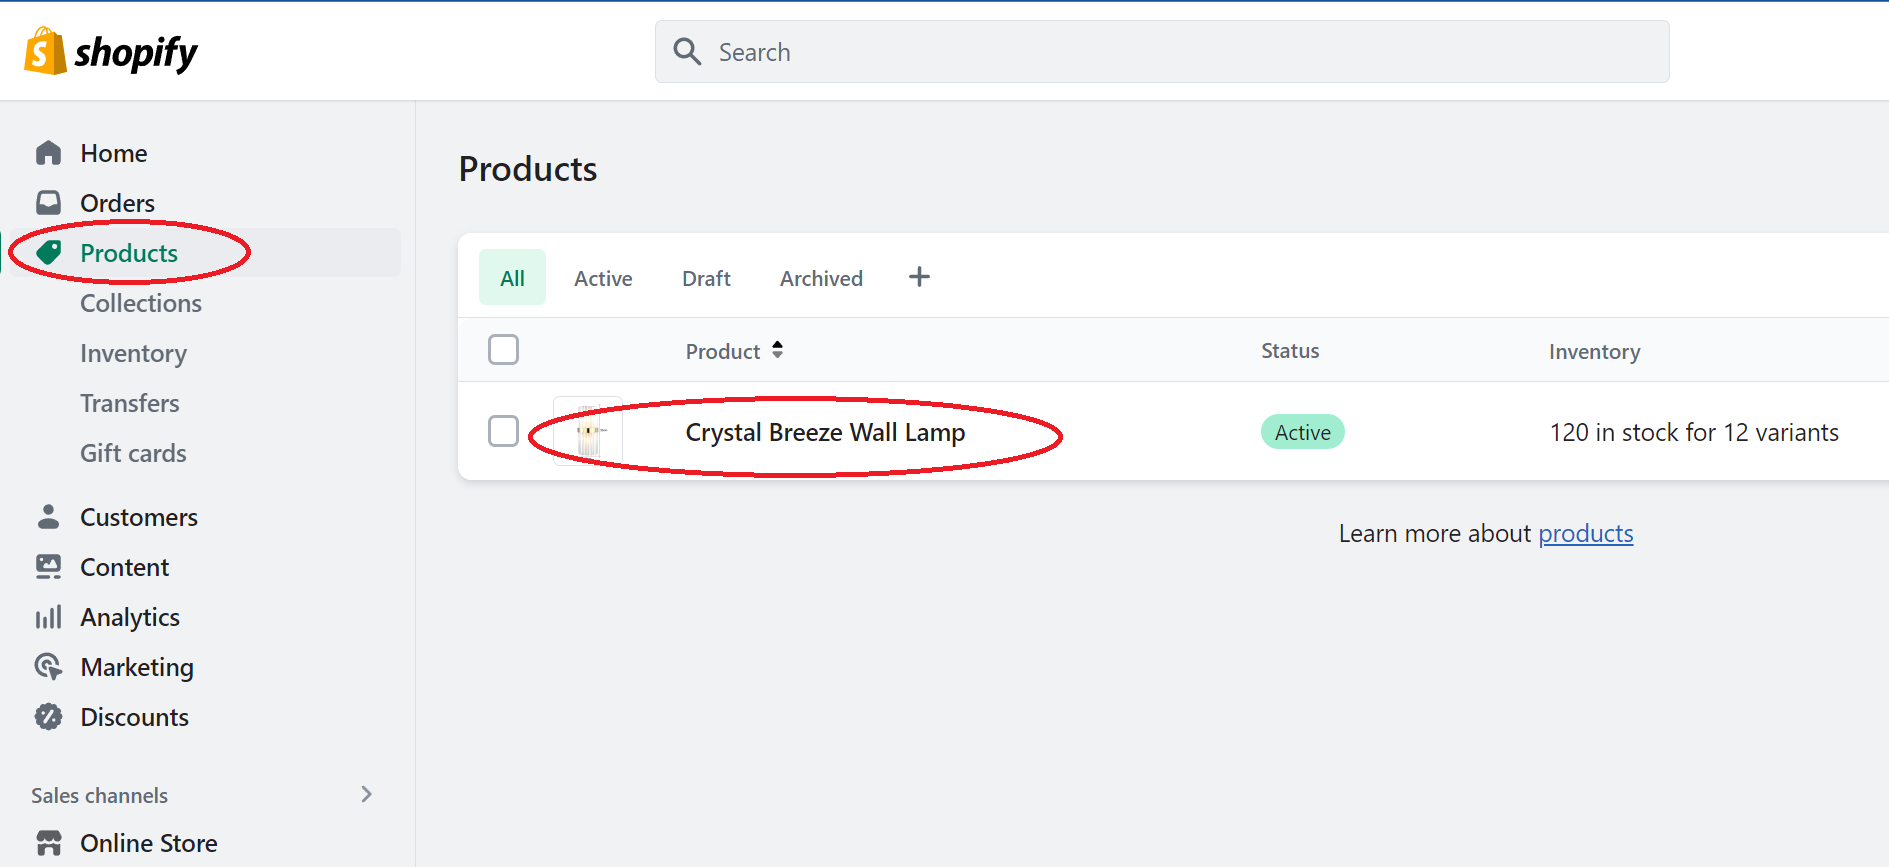
Let's go back to Shopify, click on Products and let's review the imported product by click on it's name.
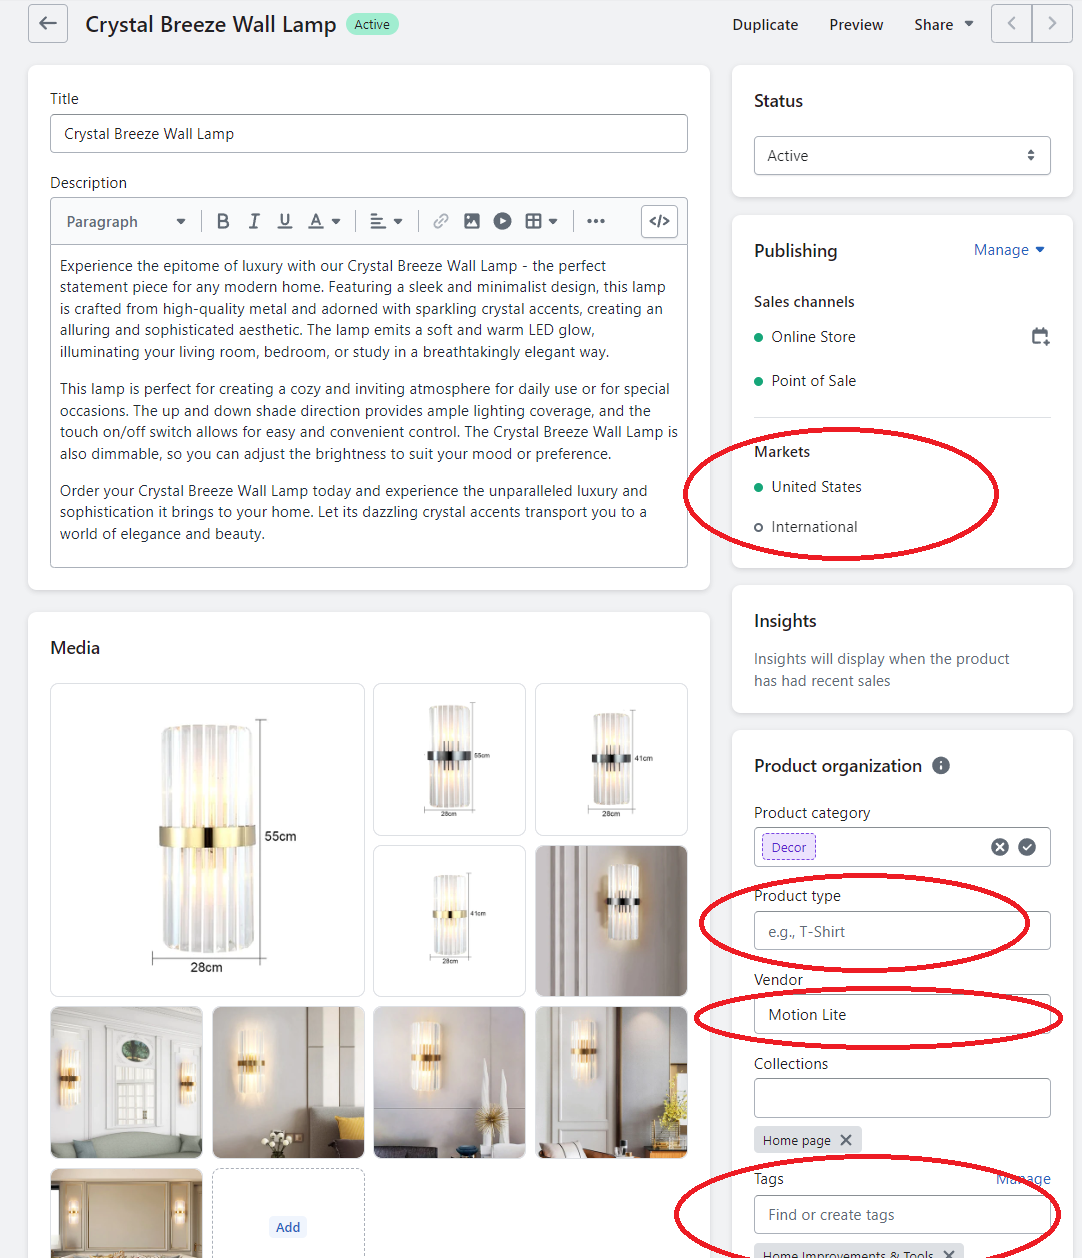
Here we can review the product, setup International markets if you want, you could also add product Tags, specify the Product type and so on. You can have a quick look here, because we've done pretty much everything using AutoDS.
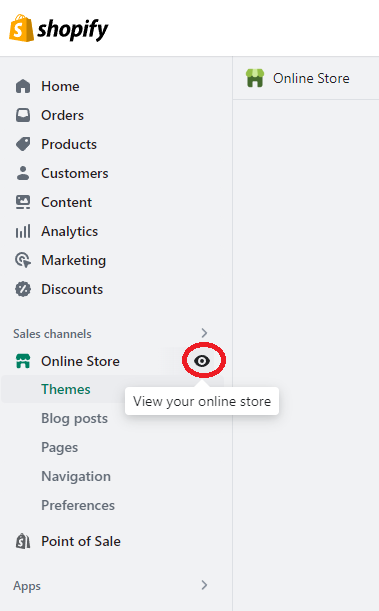
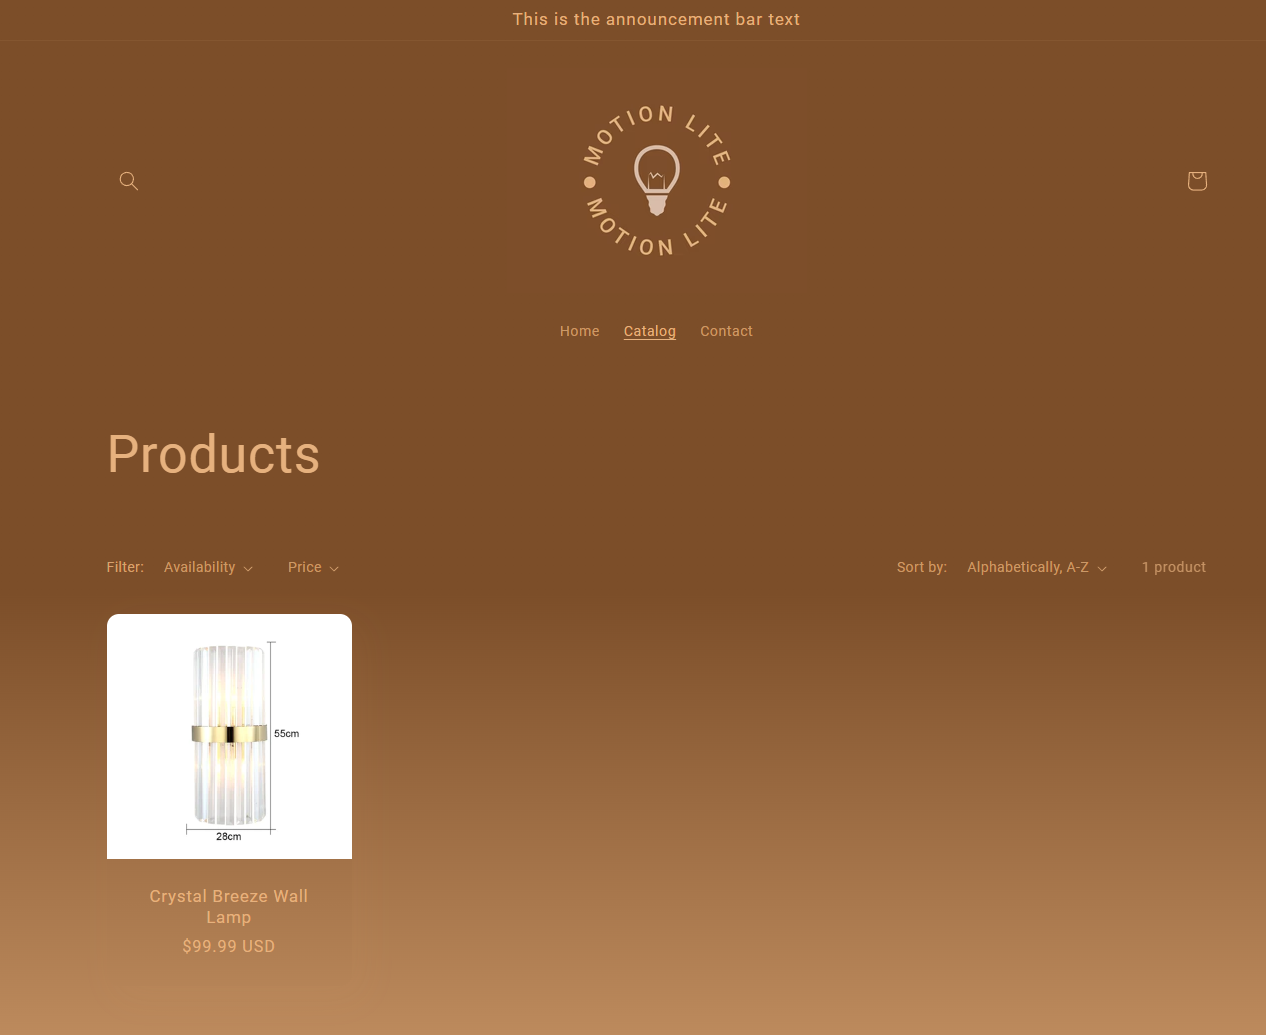
Now let's view our online store.
It should look like this.
All content on digital business genius © website is owned by or licensed to us and is protected by copyright and other intellectual property laws.